The first step of the enrollment process is for the parents and or the students to fill-out the enrollment registration forms online to provide their information.
Follow these processes below for each level of students.
How to Enroll College Level Applicants
For college level applicants, another set of link and enrollment form is provided like this one: yourschool.wela.ph/enroll-college
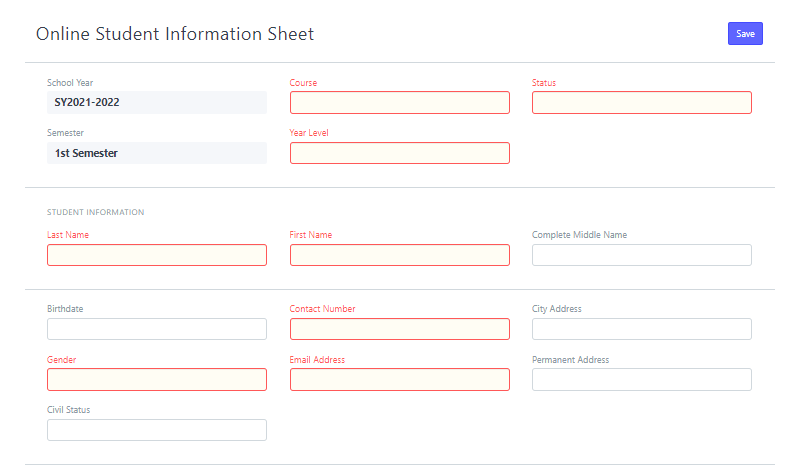
Once the parent and or the student finished filling-in their information they can then proceed to submit their application by clicking the save button.
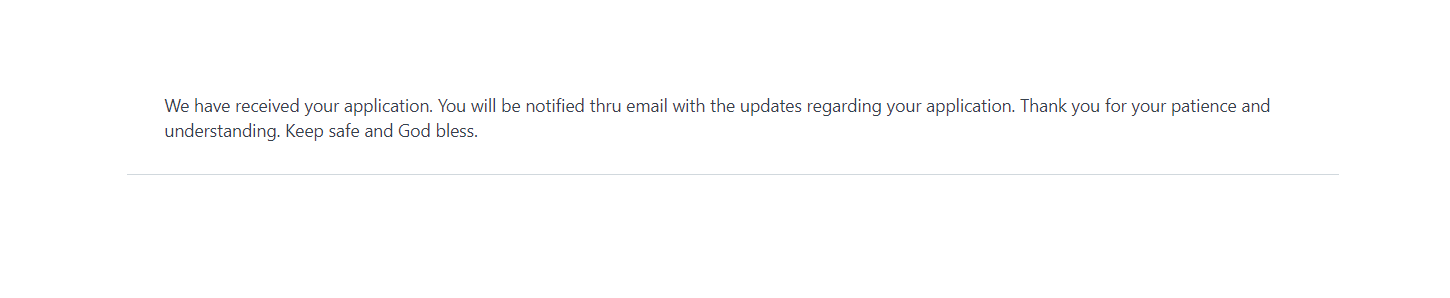
After submitting the application a confirmation message will appear that the form is successfully submitted to the school portal.
How to Accept Student
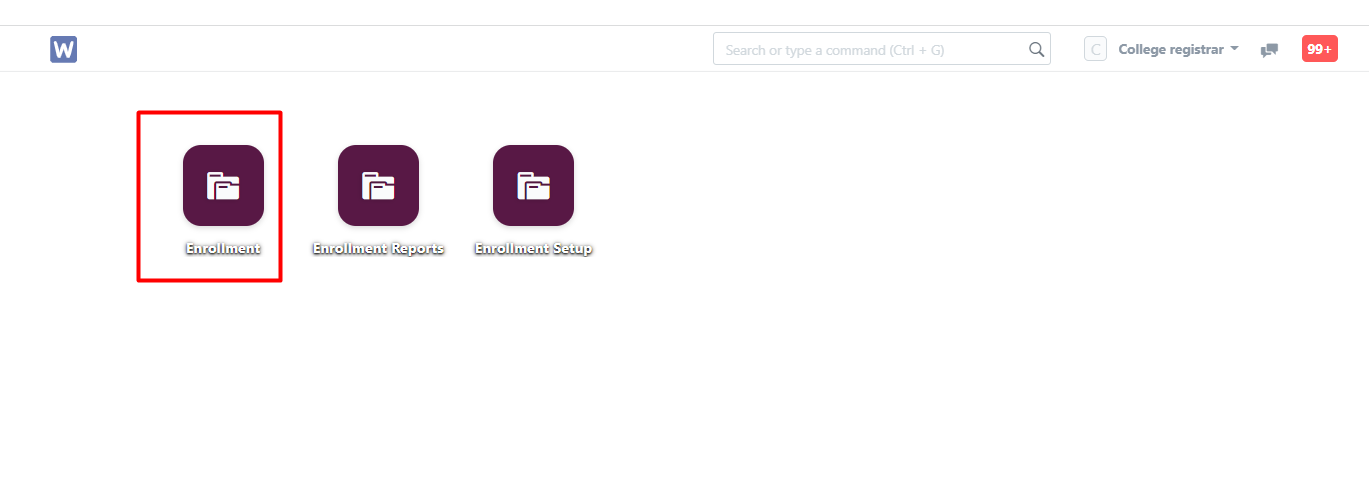
College Registrar will be the one to process the enrollment application of the student.
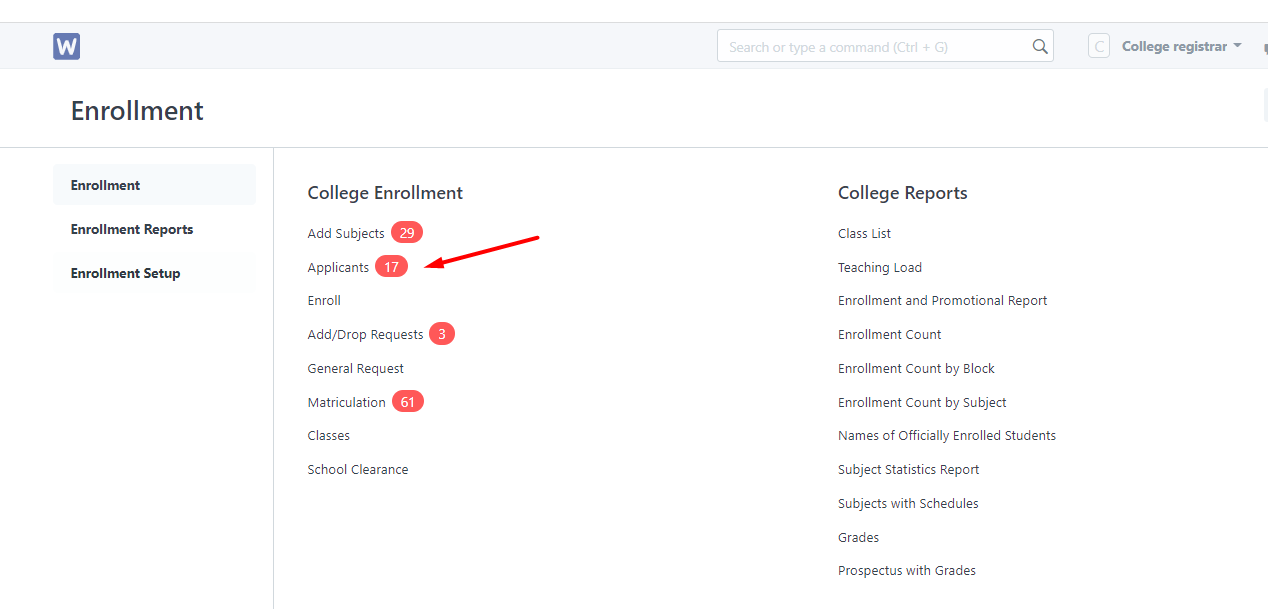
The Registrar will click first the Enrollment icon
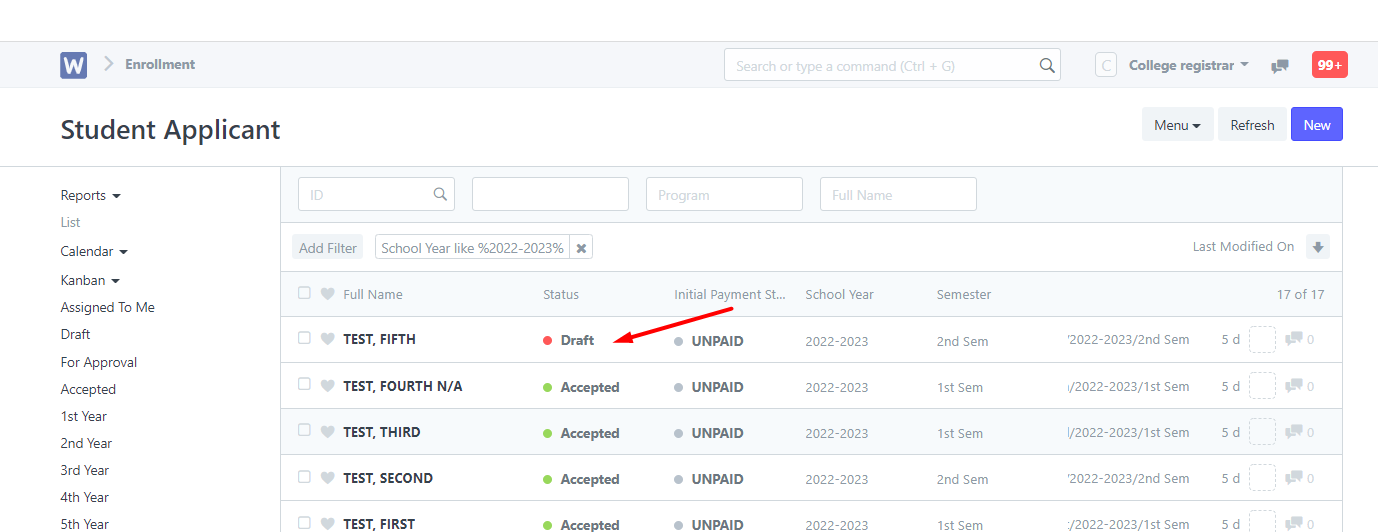
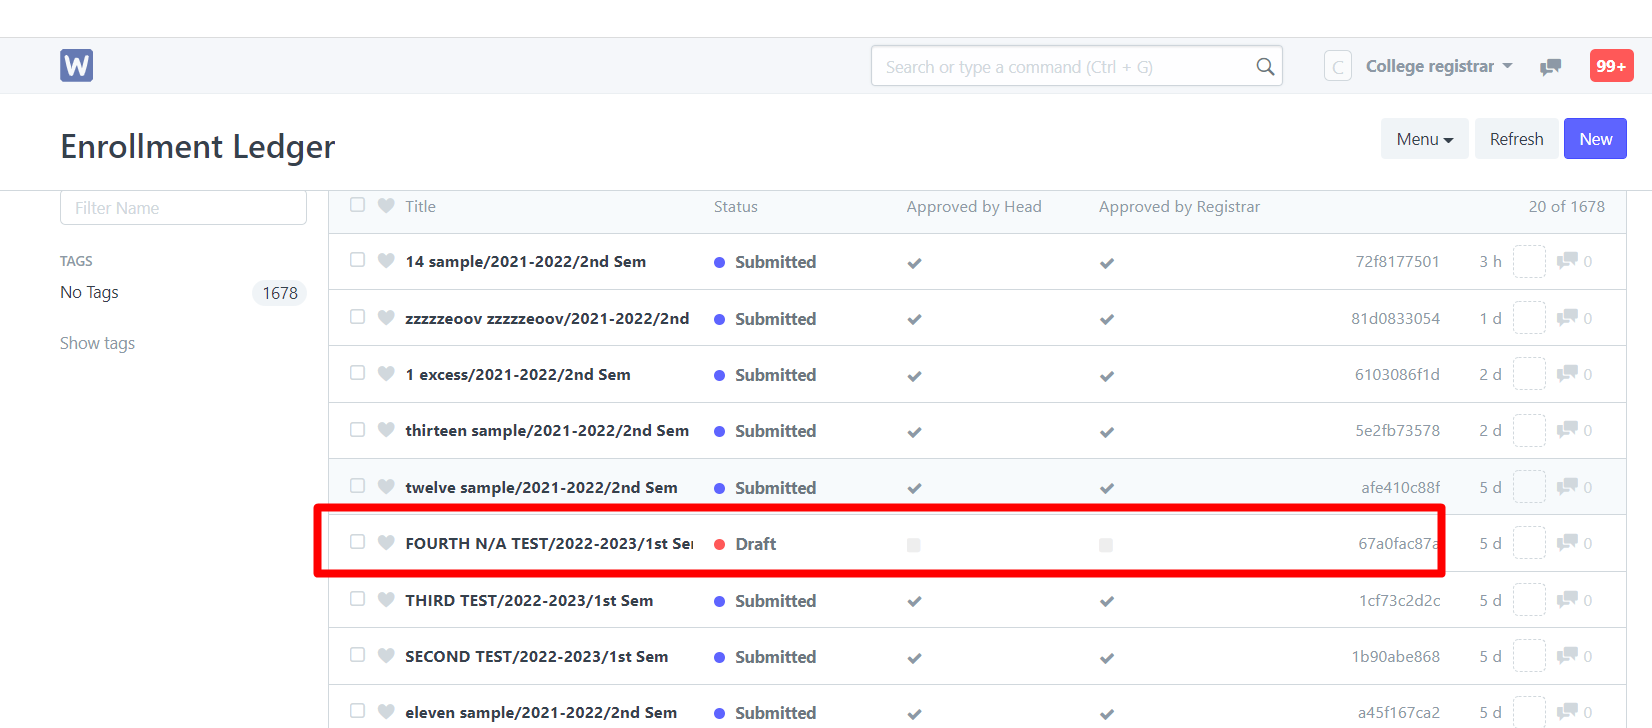
Next is go to College Enrollment section and click the Applicants to check all the submitted enrollment application for college.
Click the Student name with a Draft status
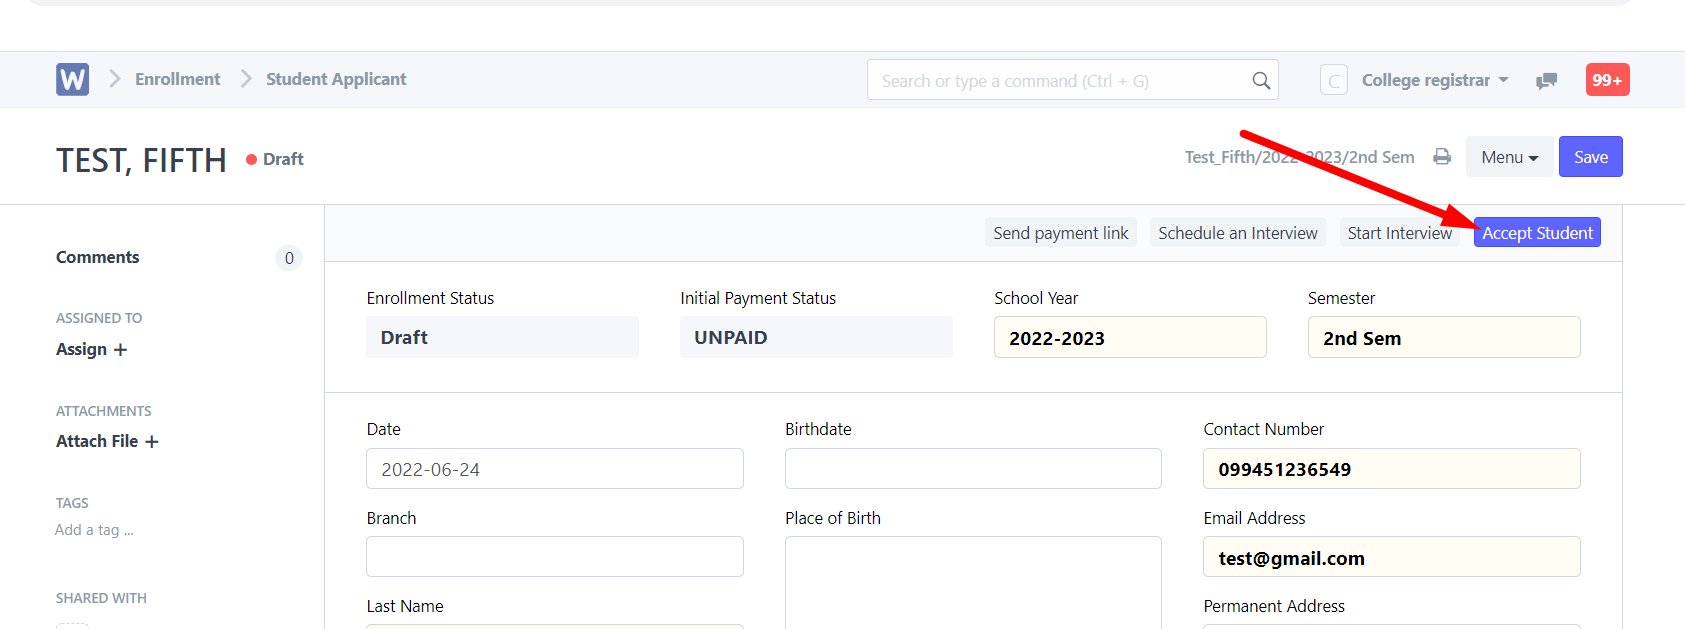
The Registrar will double check application form. To accept the student click the Accept Student button
After clickng the Accept Student a confirmation message will appear if you want to accept the student
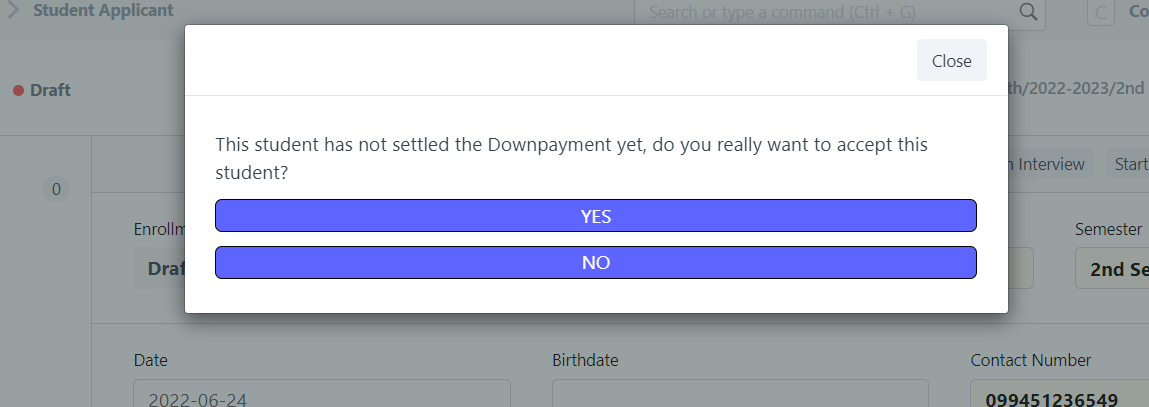
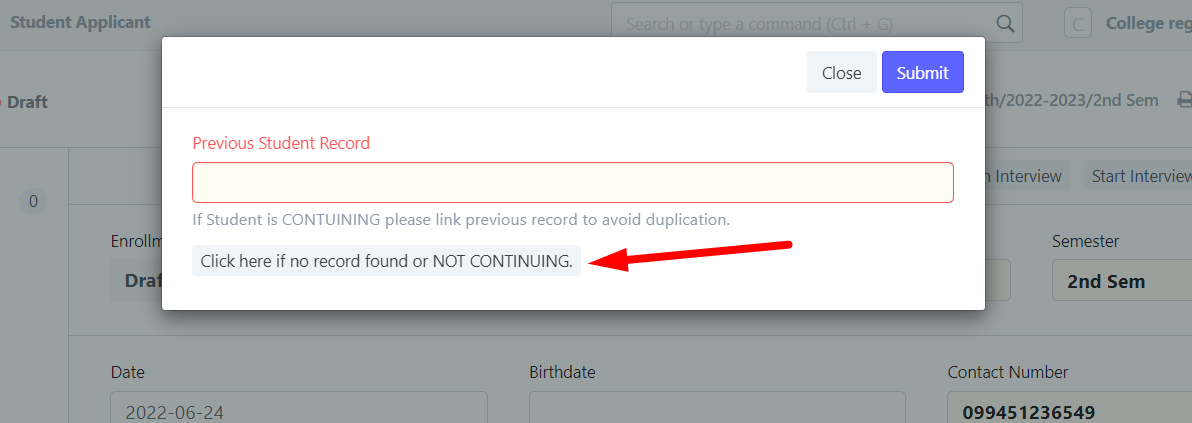
If Yes, a message box will appear. Click the button Click here if no record found or NOT CONTINUING for new student/transferee.
For Old/Continuing Student, search the name of the student in the Previous Student Record field and click Submit button.
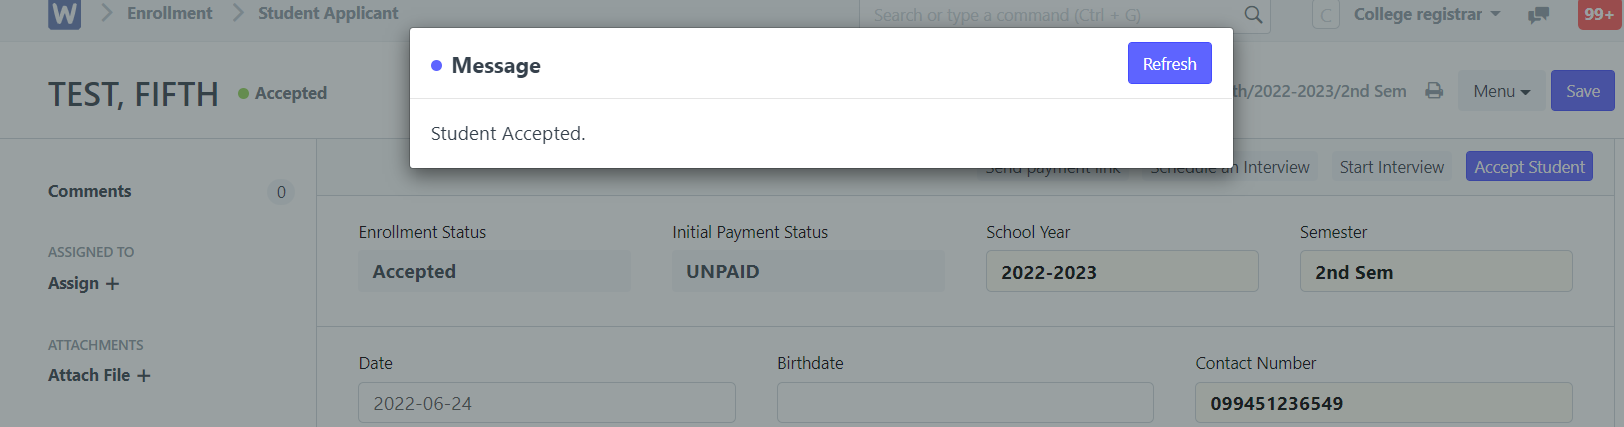
Now the registrar successfully enrolled the student. The student automatically receive his/her enrollment account for the student load.
How to Select Subjects/Block
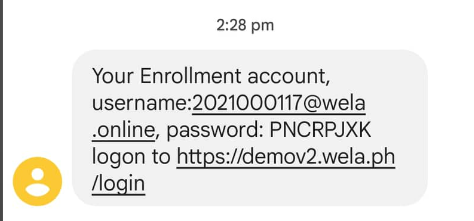
The student will receive text message of their Enrollment Account to login
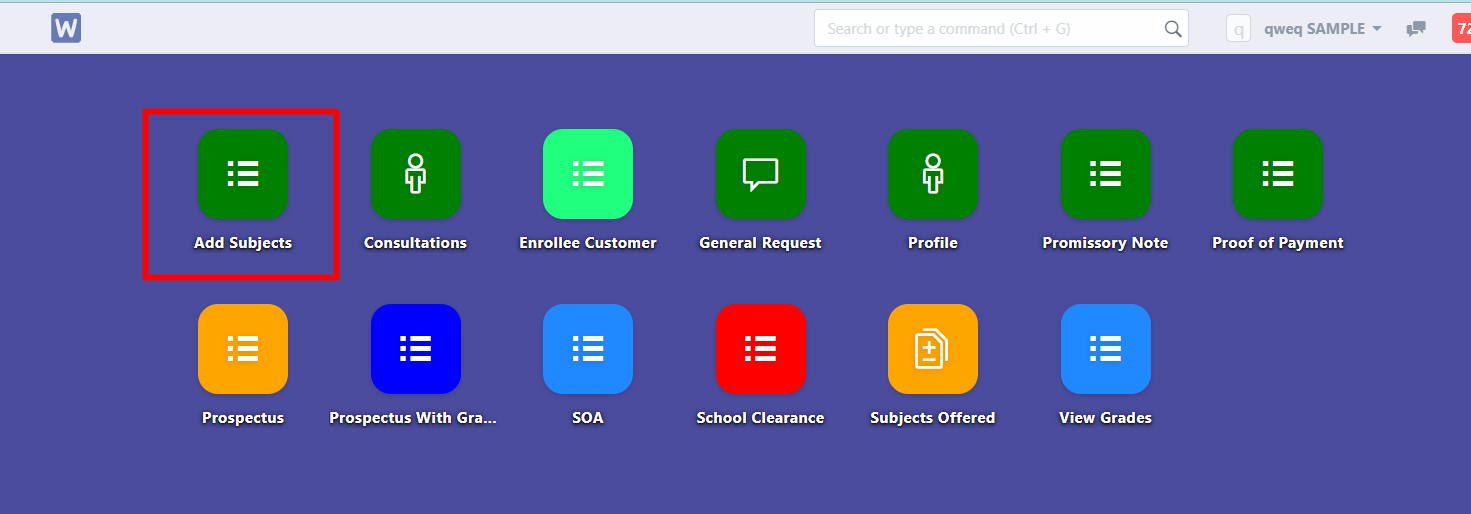
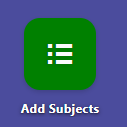
After logging in, the student will click the Add Subjects icon to add their load
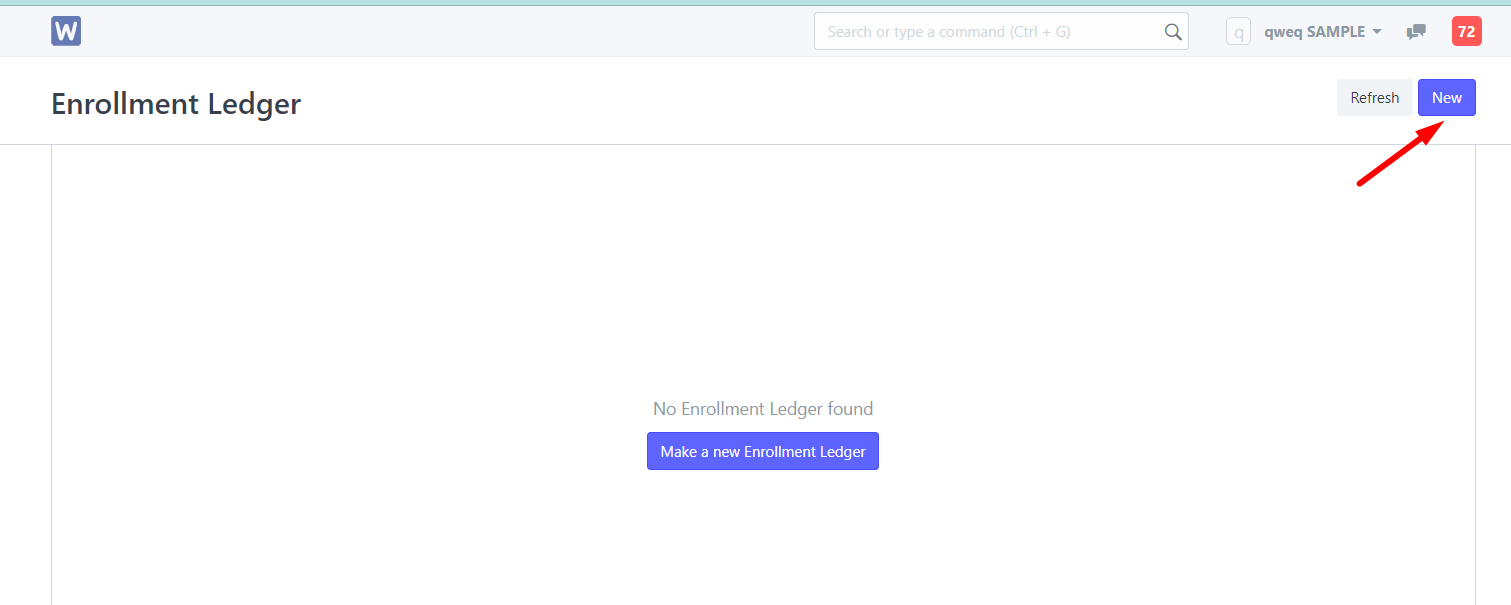
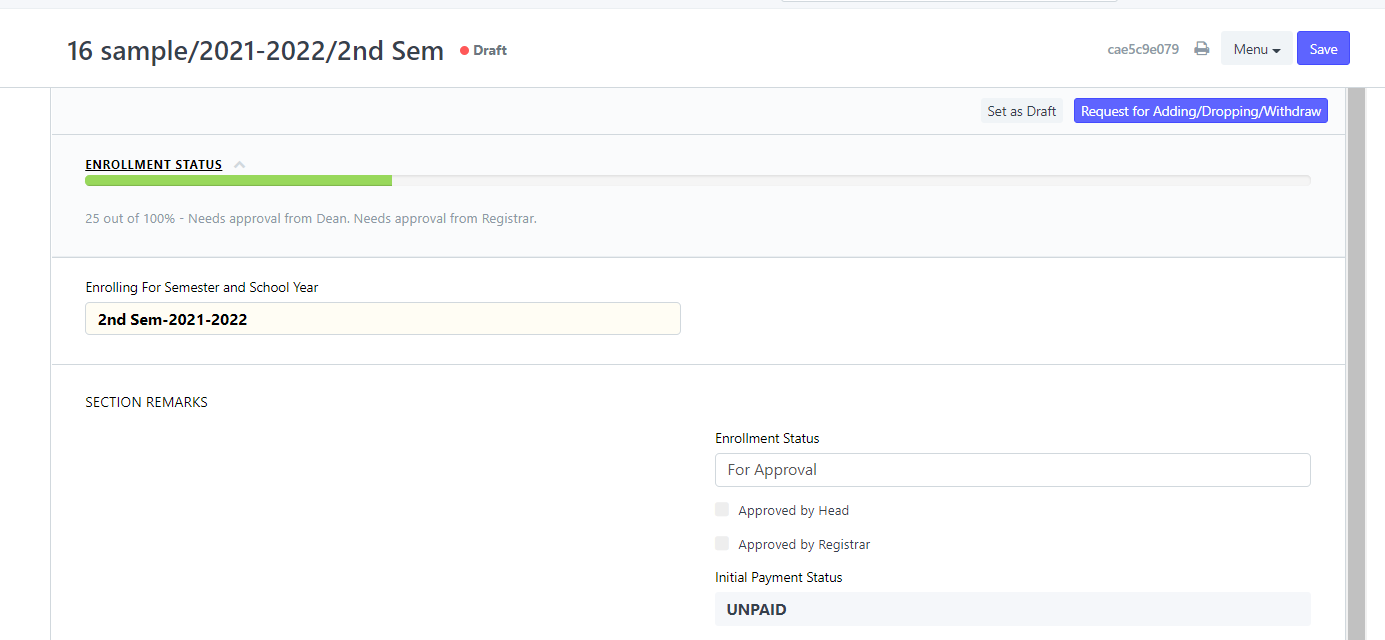
Click New button to create Enrollment Ledger
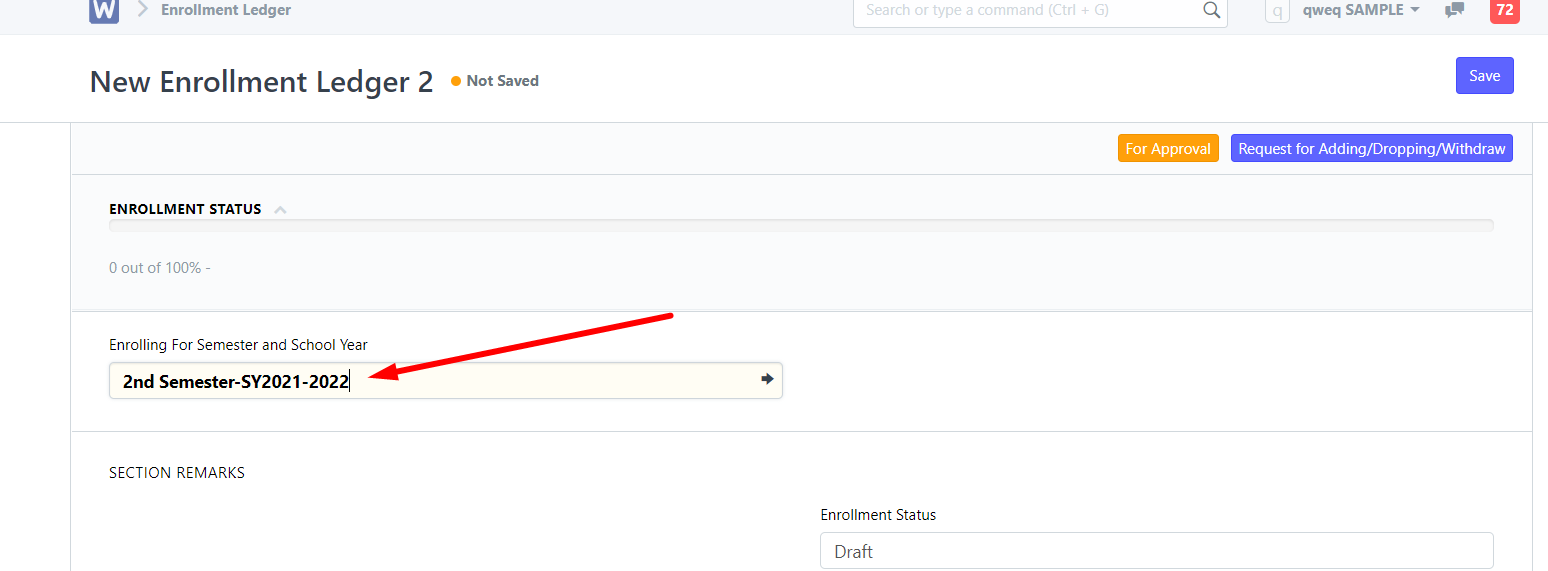
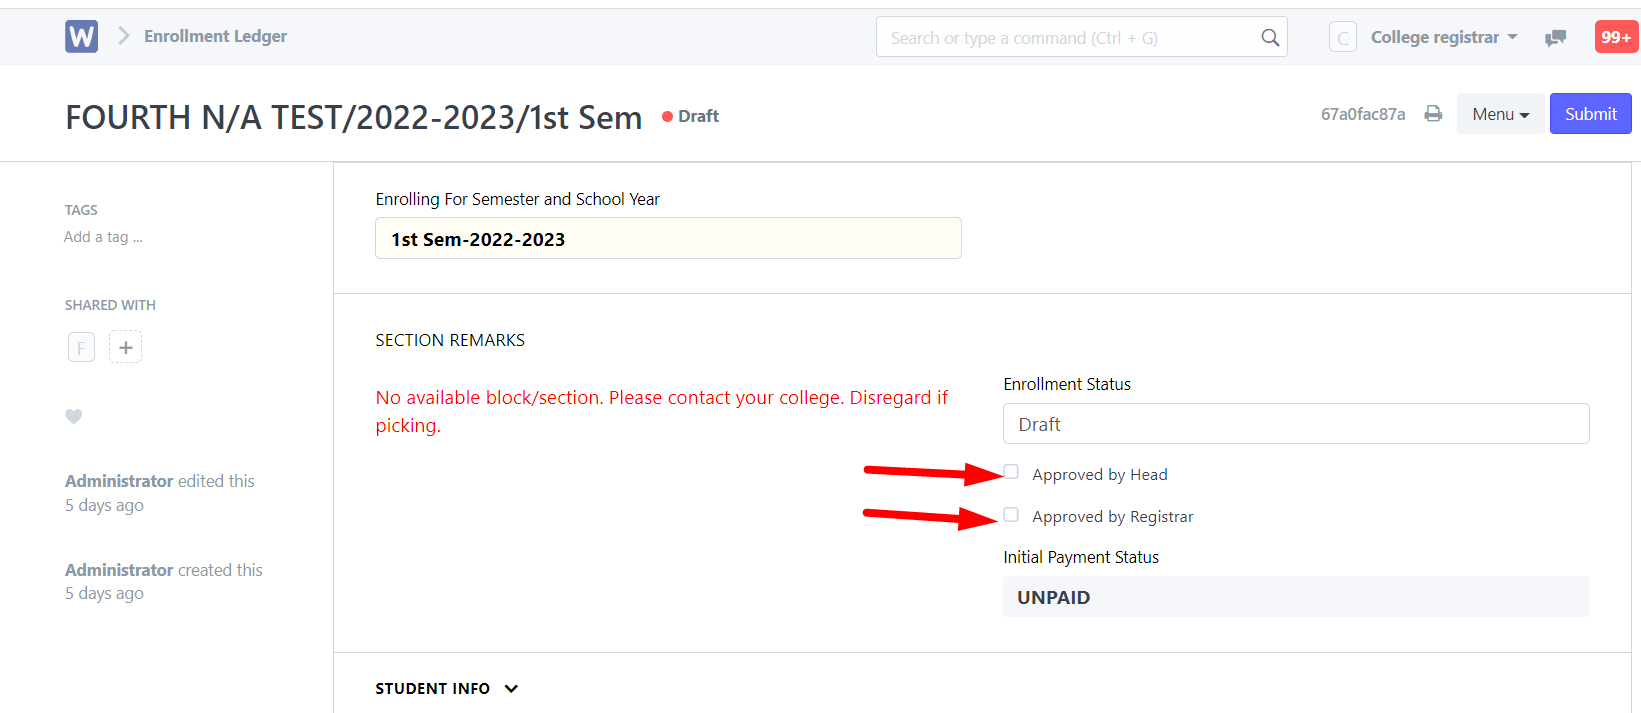
Select the current School year and semester in the Enrolling For Semester and School Year field
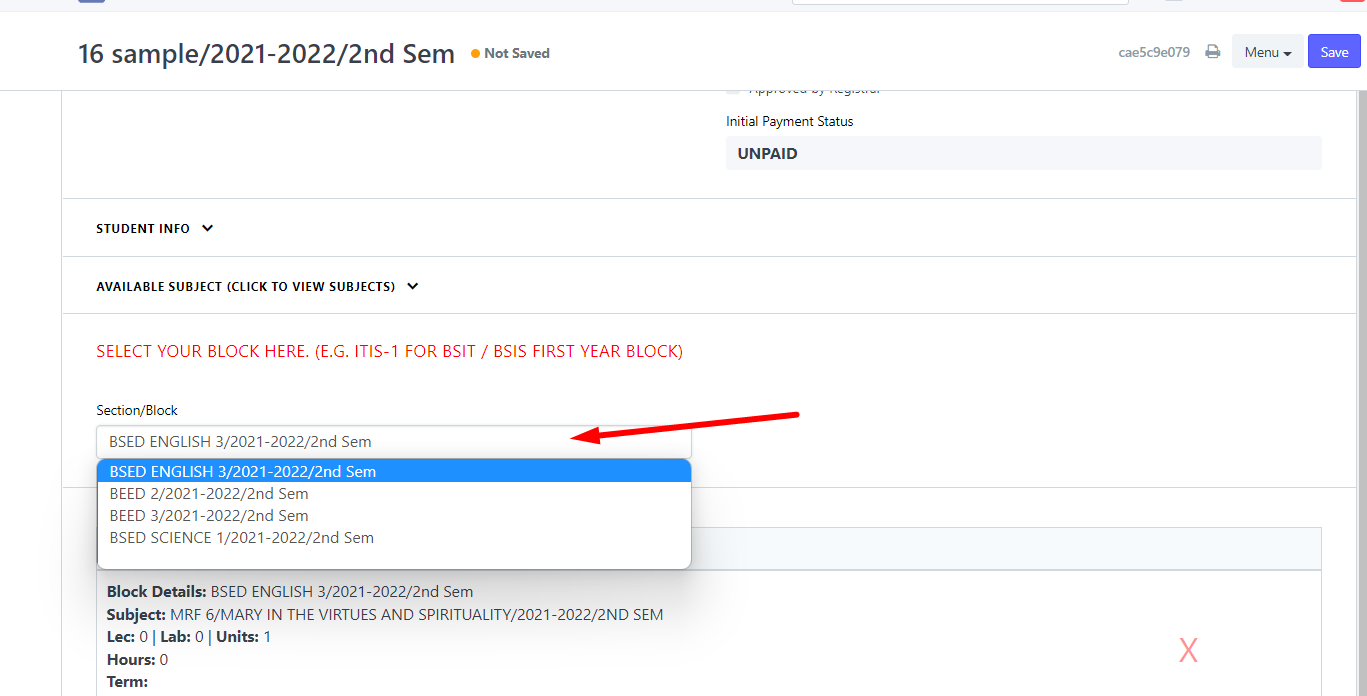
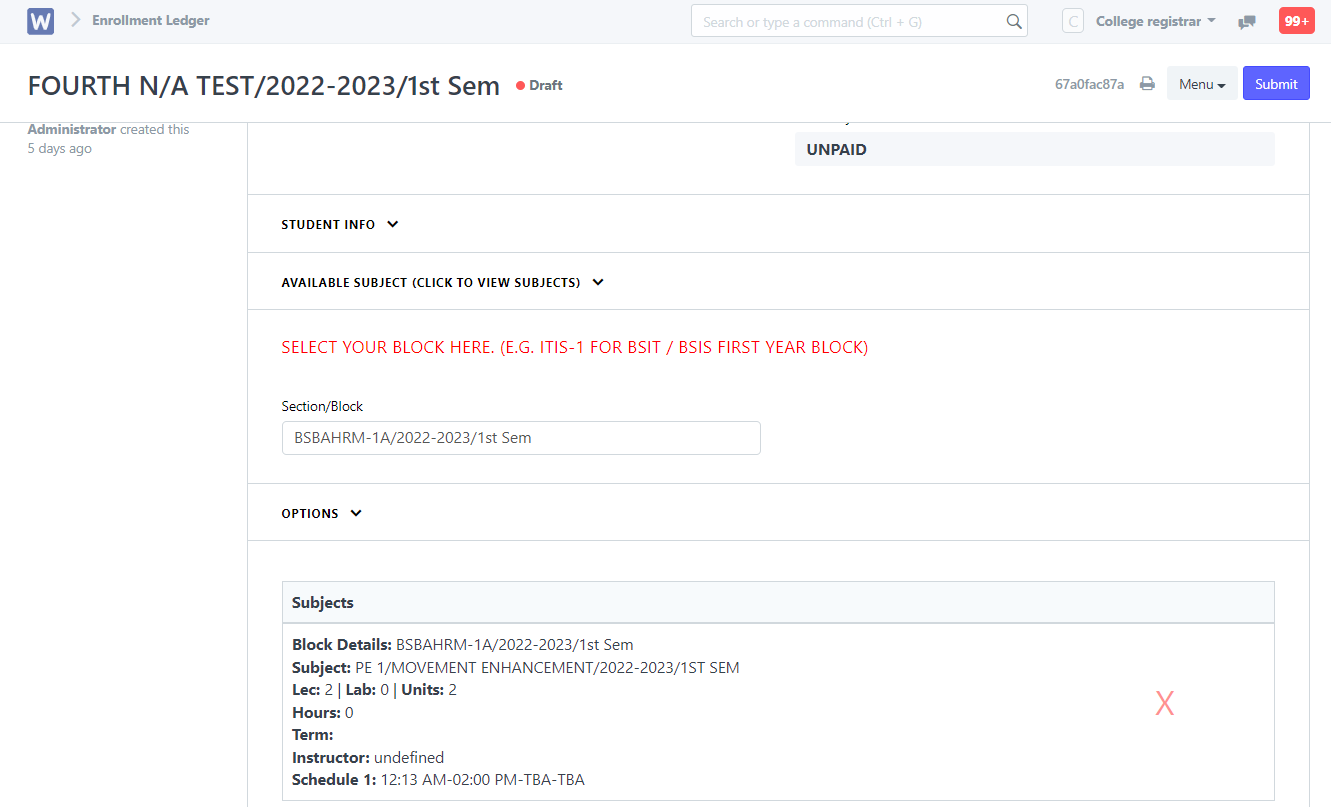
Scroll Down and go to Section/Block field to select preferred blocking schedule
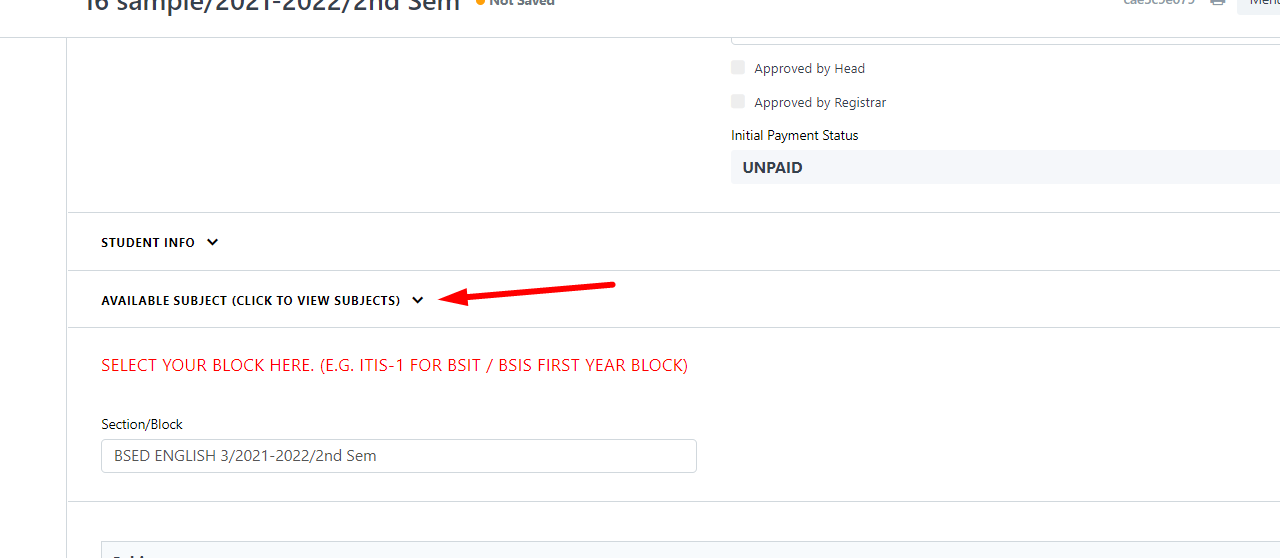
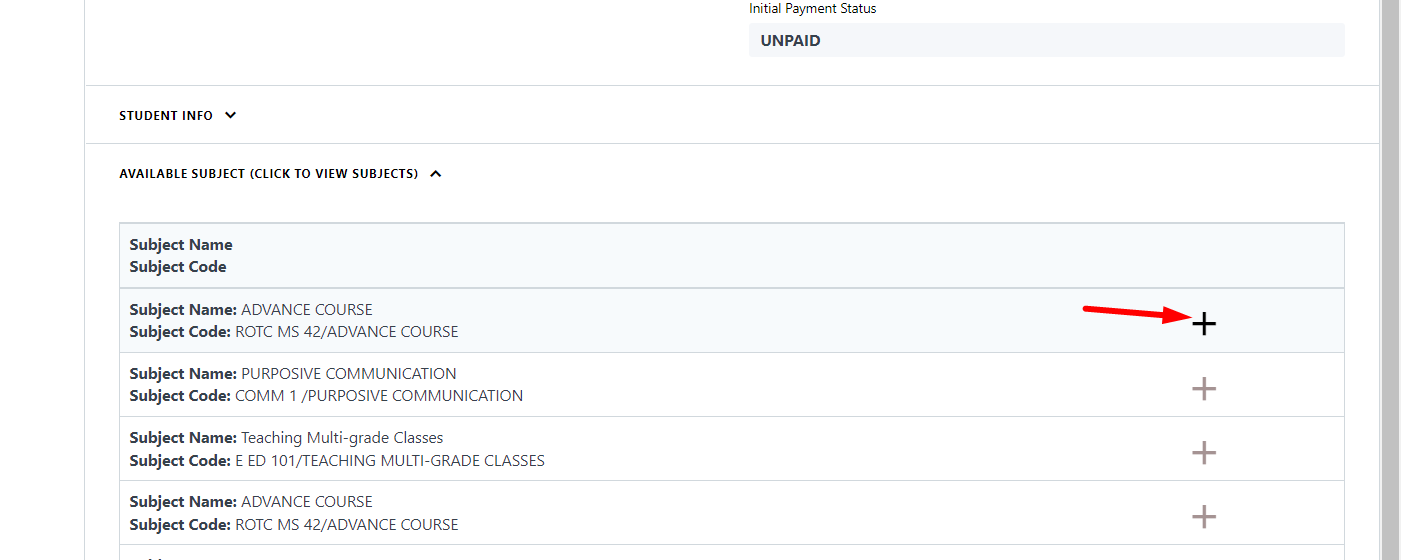
For Picking Students, to select a picking subjects, just click the Available Subject section above the Section/Block to view all the available subjects for picking.
click the plus button to add the subject
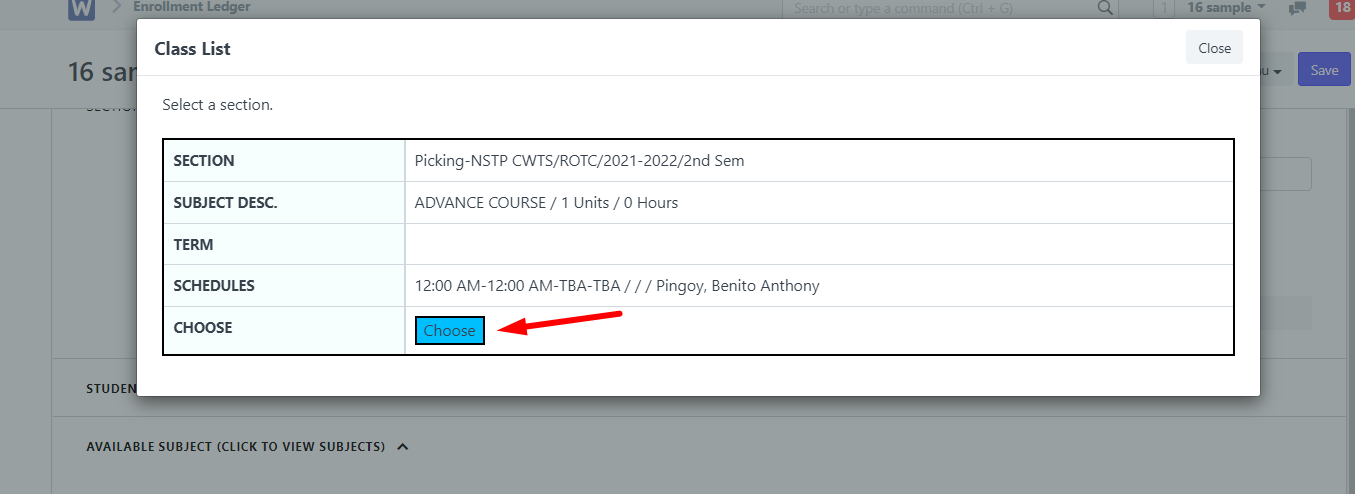
Click the choose button to add your desired schedule
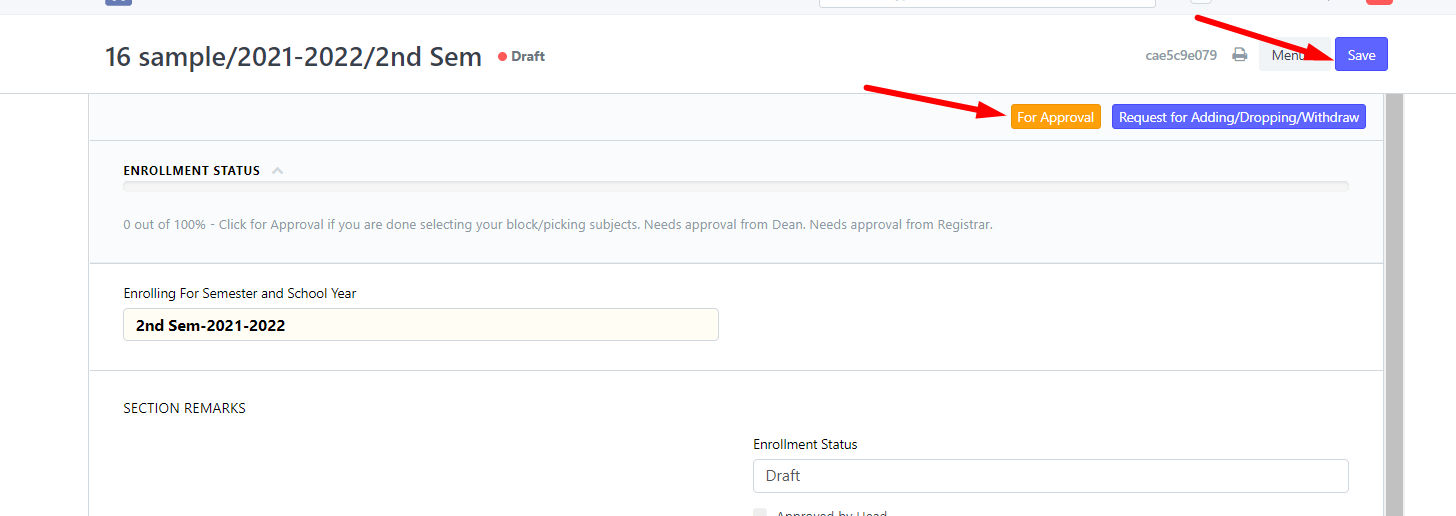
After adding all the subjects, Click Save button and click For Approval
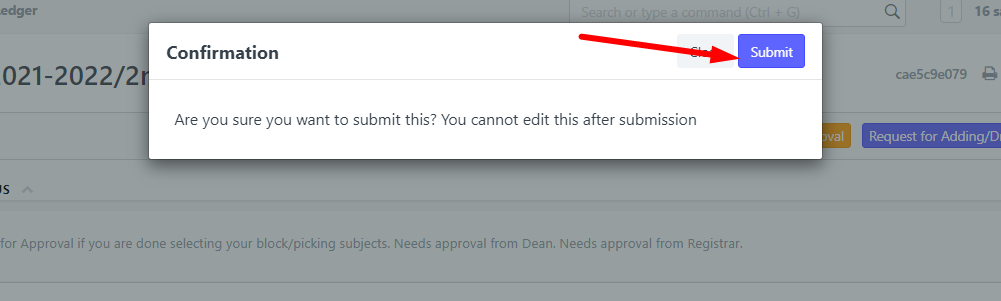
A confirmation message will appear to confirm i you want to add more subjects or No, if you are okay with your load
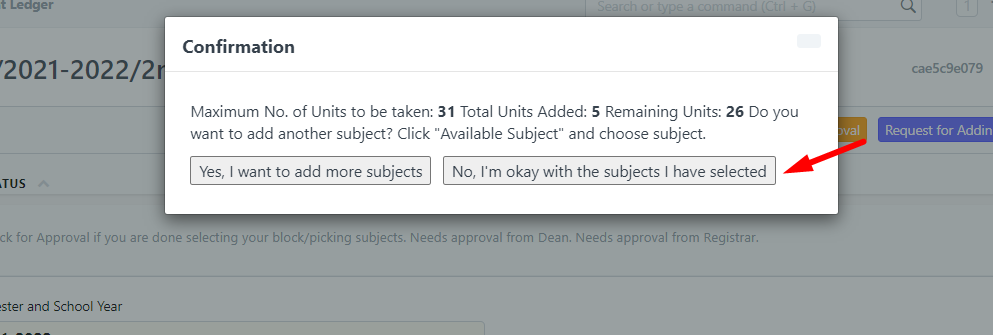
Click Submit and wait for school's approval.
How to Evaluate Student Load
The Registar and Dean will evalaute the Enrollment ledger of the student.
First Click "Add Subjects" icon
After clicking, you will see the submitted entries and draft entries that need to be checked and accepted. Select a specific student.
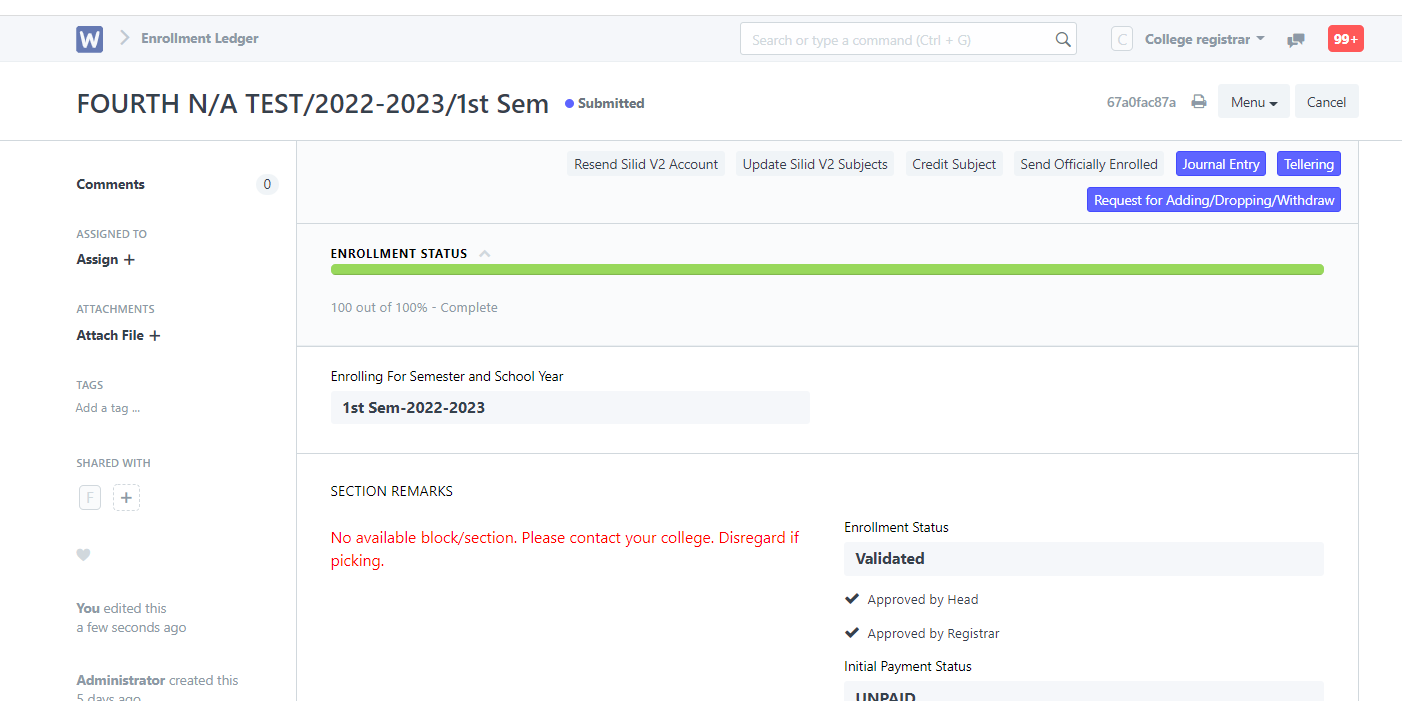
Evaluate the entry by checking the subjects and schedules. After evaluating, Click Approved by Head (For Dean) and Approved by Registrar (For Registrar). The Registrar will now submit the approved enrollment ledger.
The enrollement ledger is submitted.
How to Submit Matriculation
Next step after the Registrar submitted the Student Load of the student. The Finance can now process the fees of student.
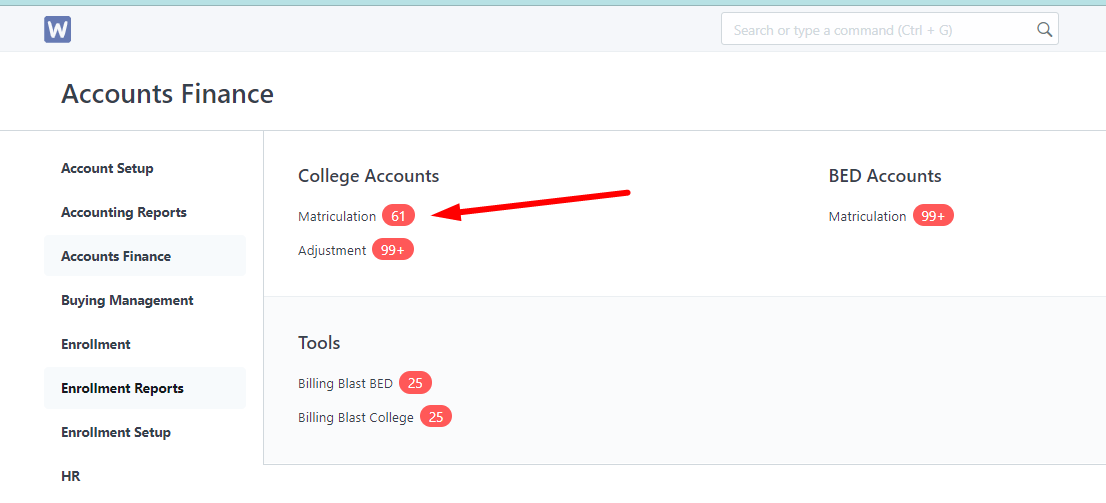
Finance will Click the Account Finance button
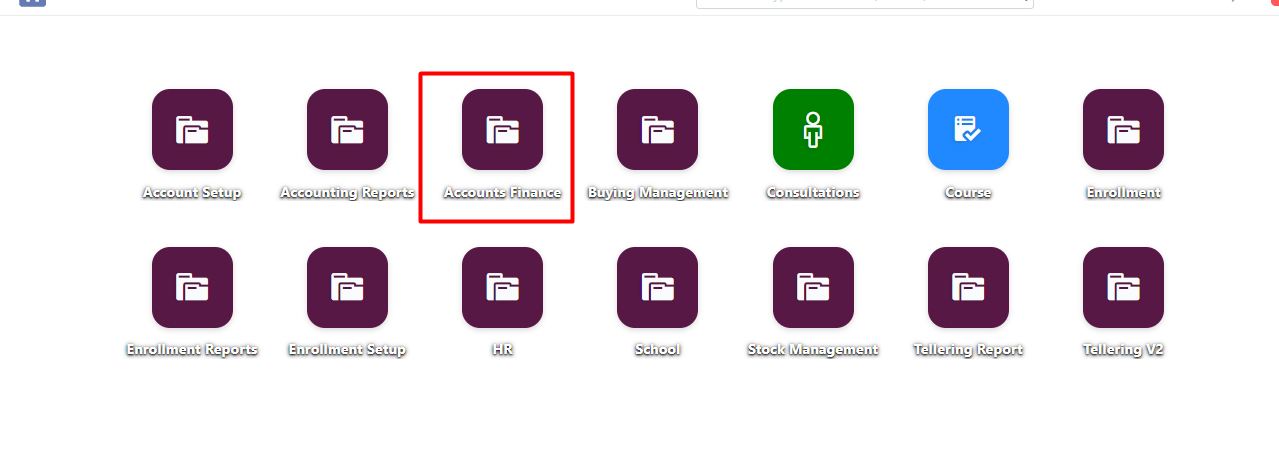
Go to College Accounts section and click Matriculation
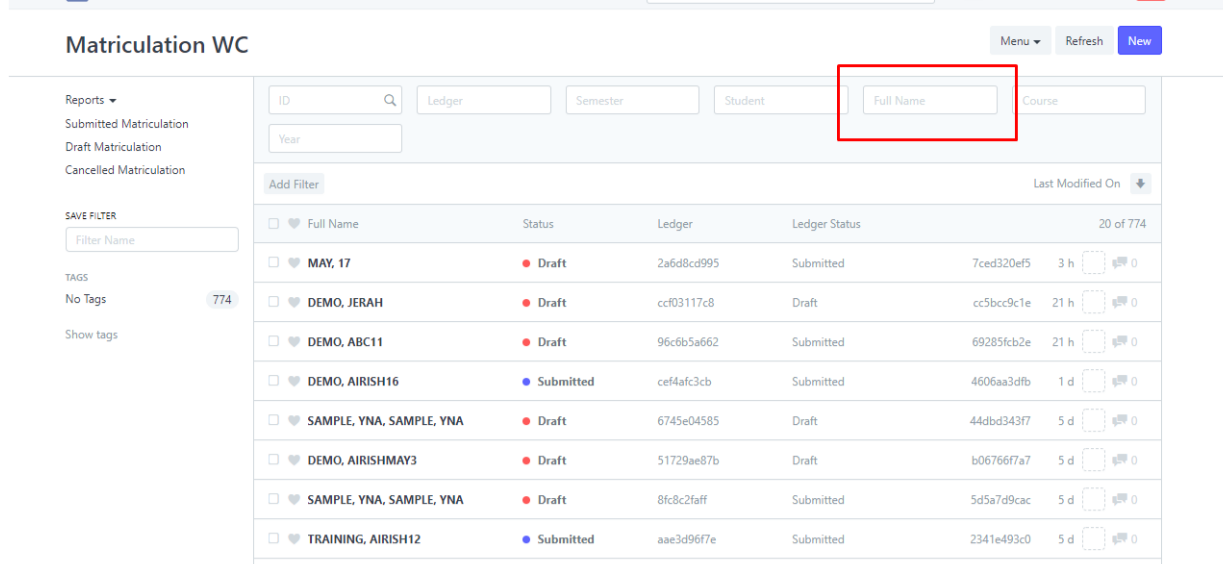
Click the name of the student you want to edit, you can search for the name of the student in the "Full Name" box.
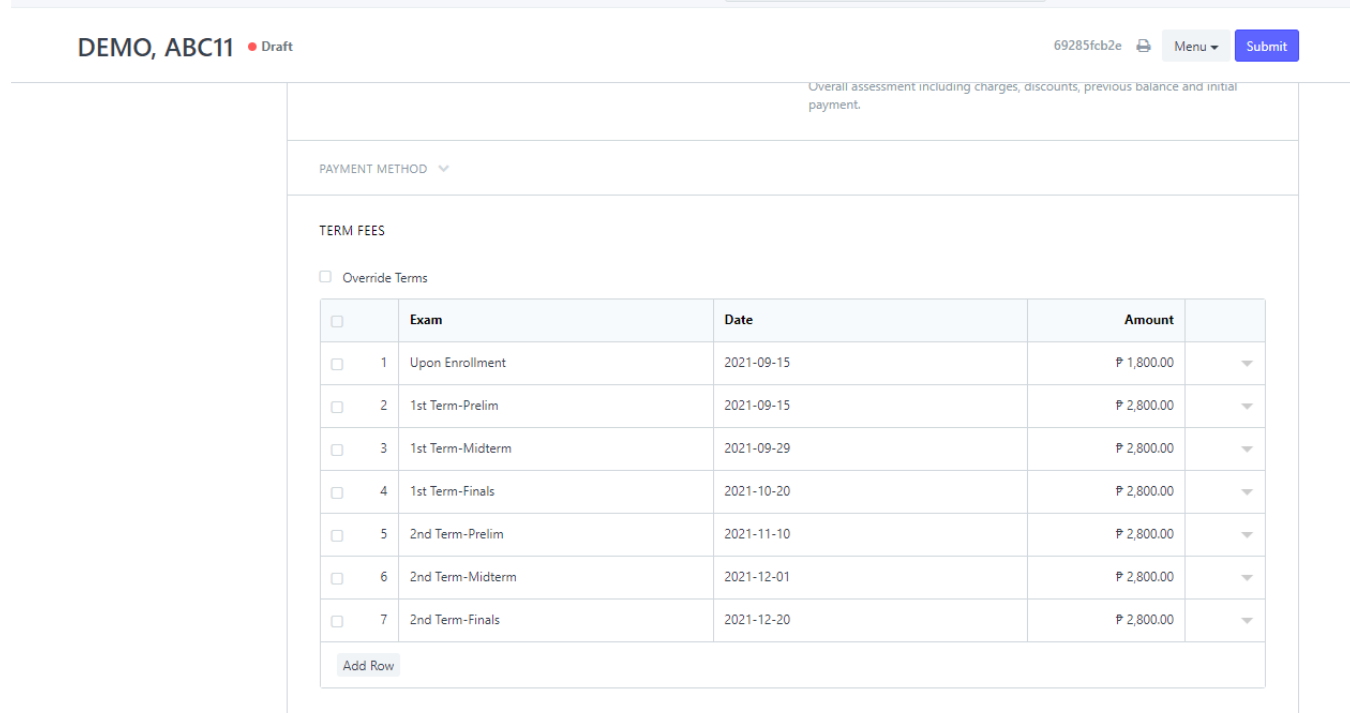
You can then evaluate the student's matriculation and make changes. Do note that the document status must be "Draft" or you won't be able to make any changes.
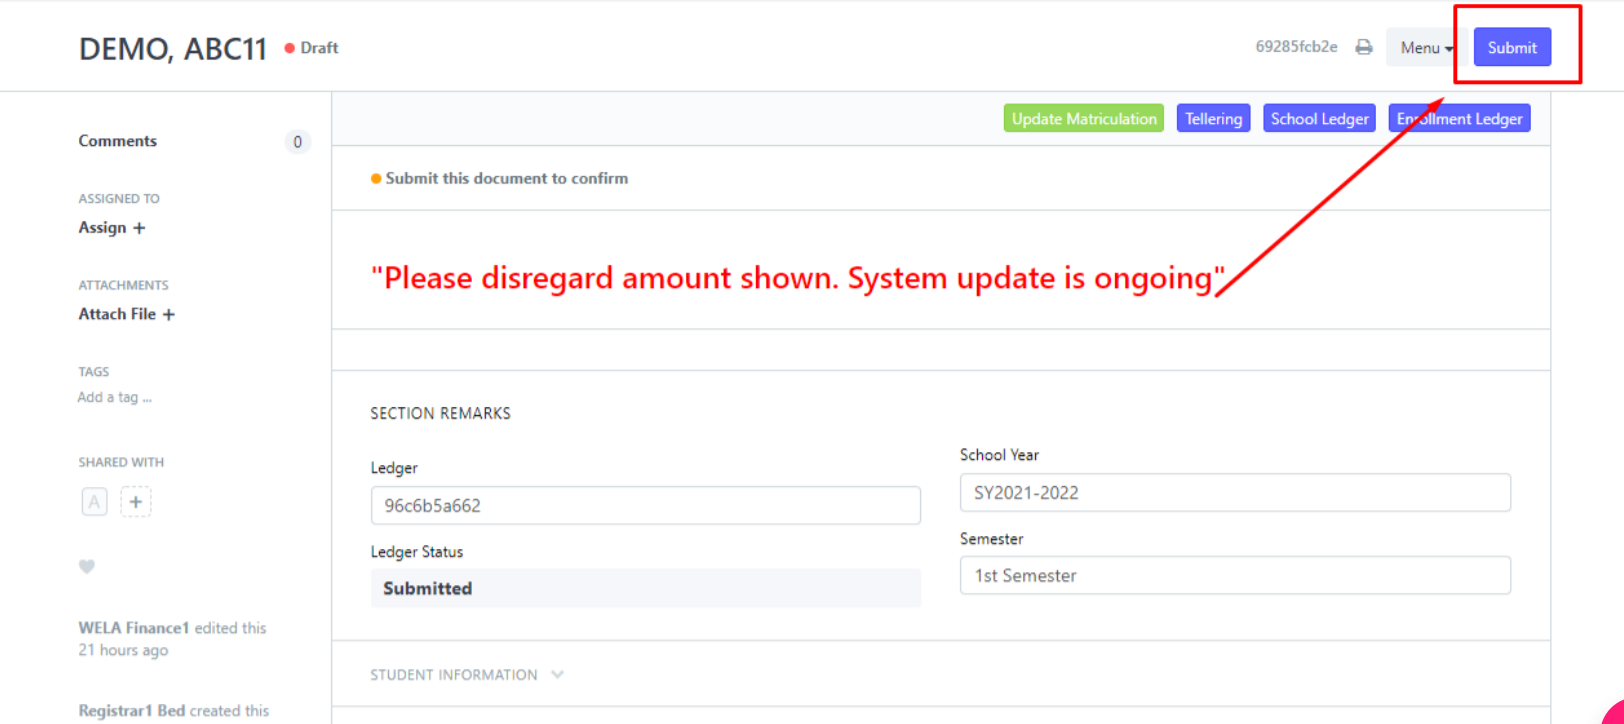
When done, you can then go ahead and click "Submit" to save changes.
How to Proccess Payment
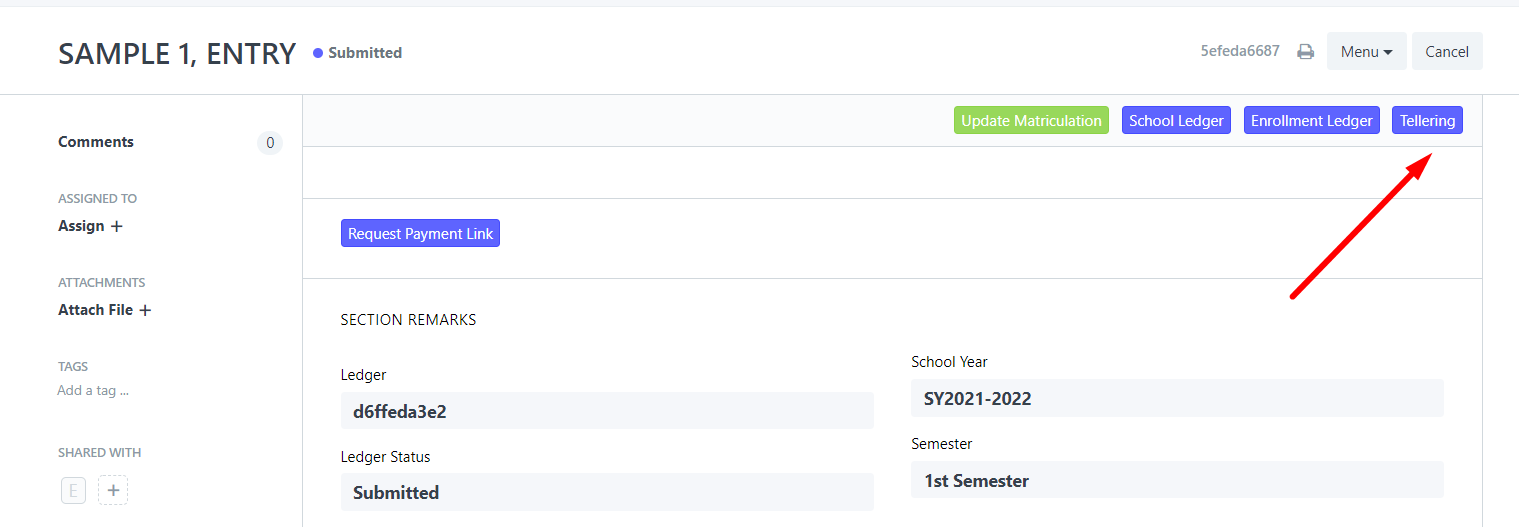
After submitting the Matriculation, the Finance will click the Tellering button to directly process the downpayment of the student
In Tellering, you just have to provide Student ID number and the other information will automatically load to the form and you can also modify payments based on what is set on balances on date whether its a monthly payment or annual payment etc and the Paid Amount and Overall Balances below will also auto compute based on the date set.
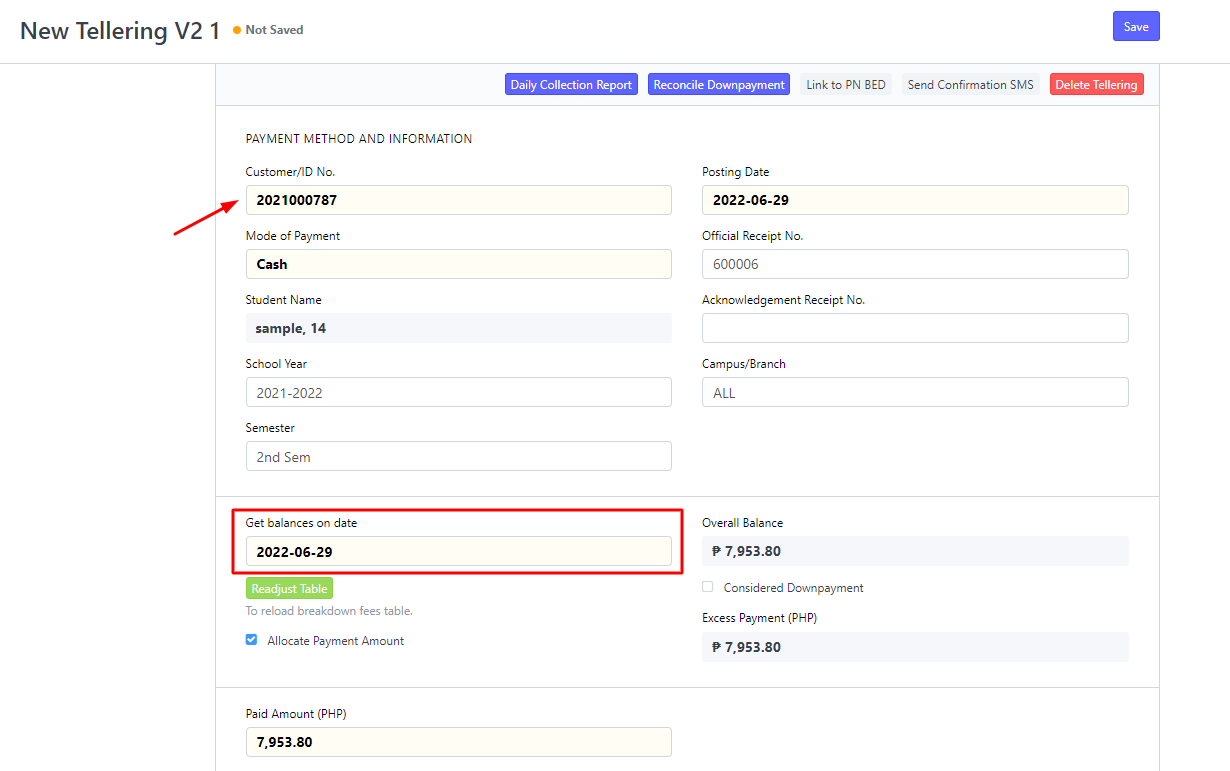
You can also manually input the downpayment of the student in the Paid Amount field. the payments will automatically allocate to the fees. Click Save to finish the transaction.

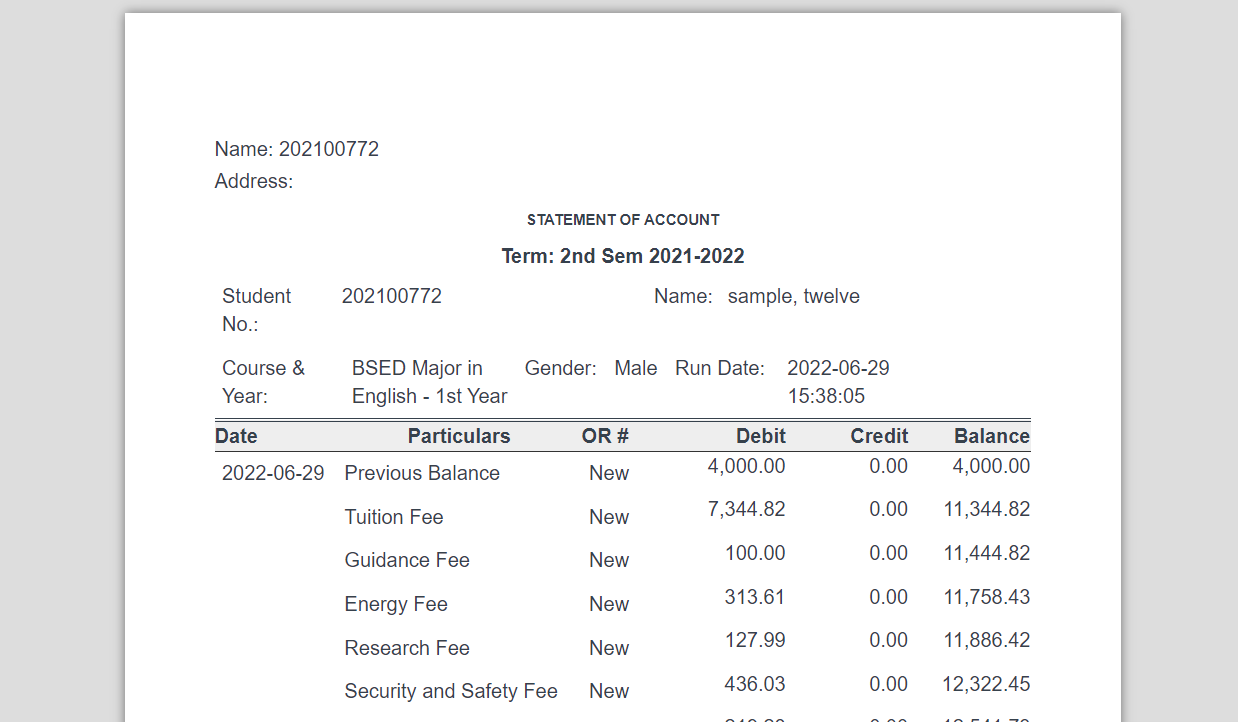
How to View Statement of account of the Student
The Finance will click the Accounting Reports icon
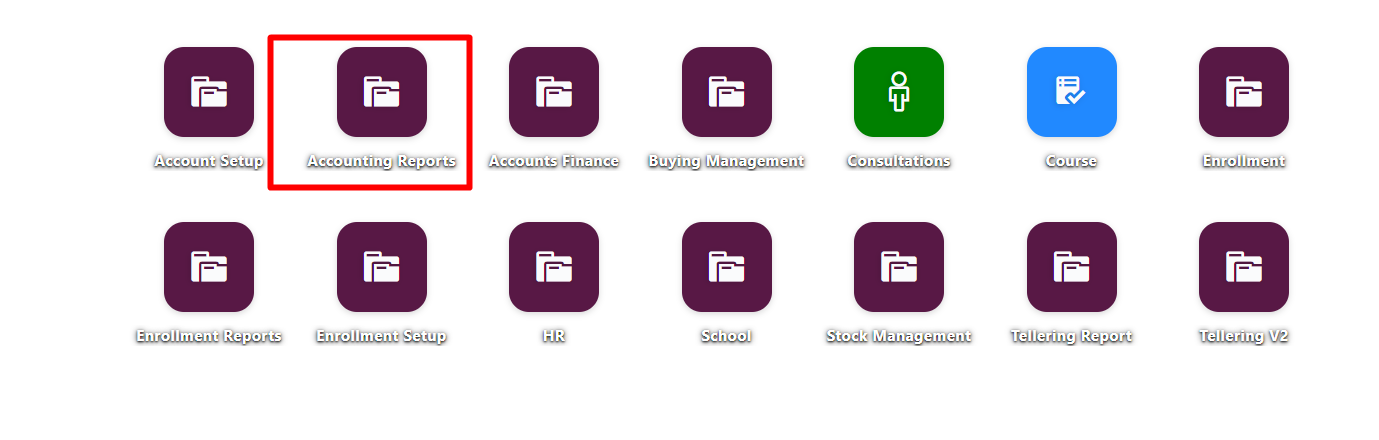
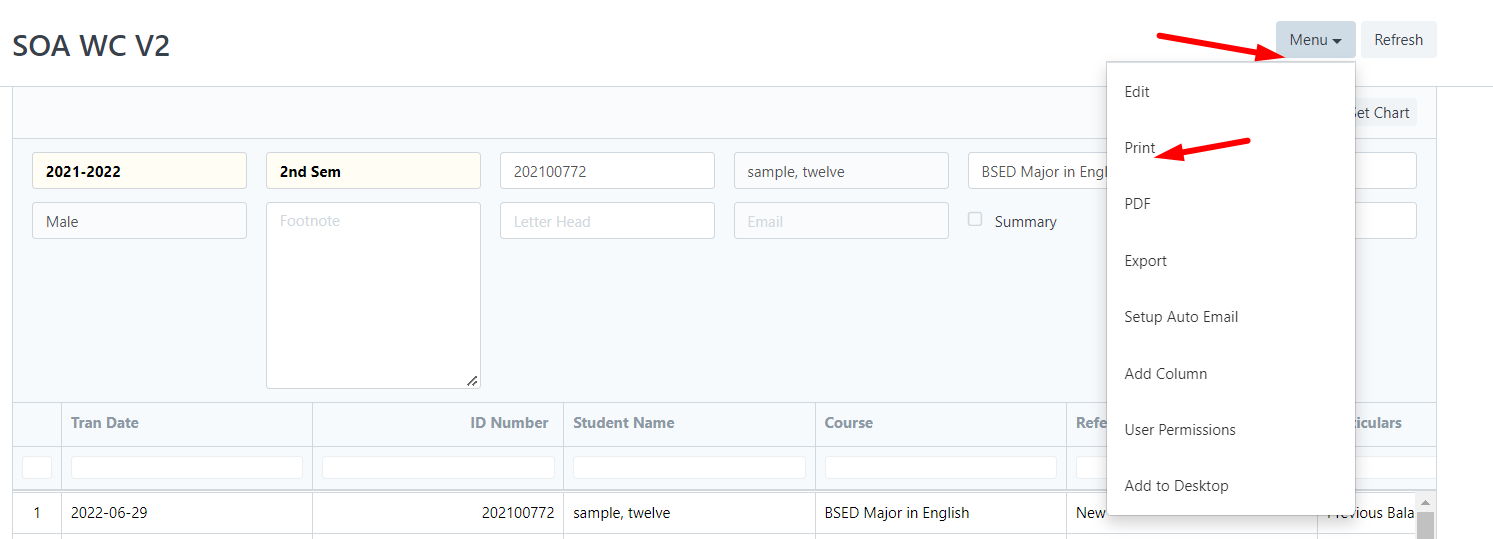
Go to Accounting Reports section and click SOA WC v2 for college

Input the School Year, Semester and Student ID
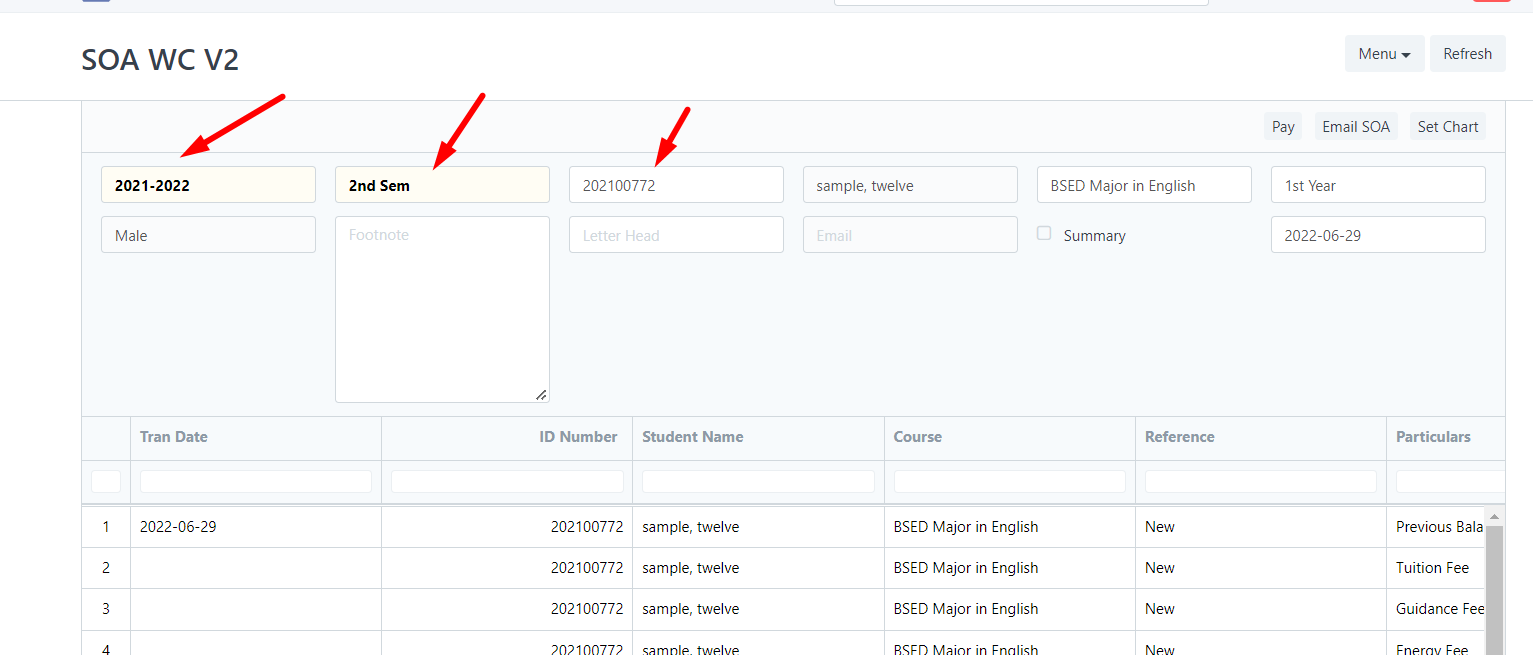
Clich Menu then Print
Select Preferred orientation and click Submit
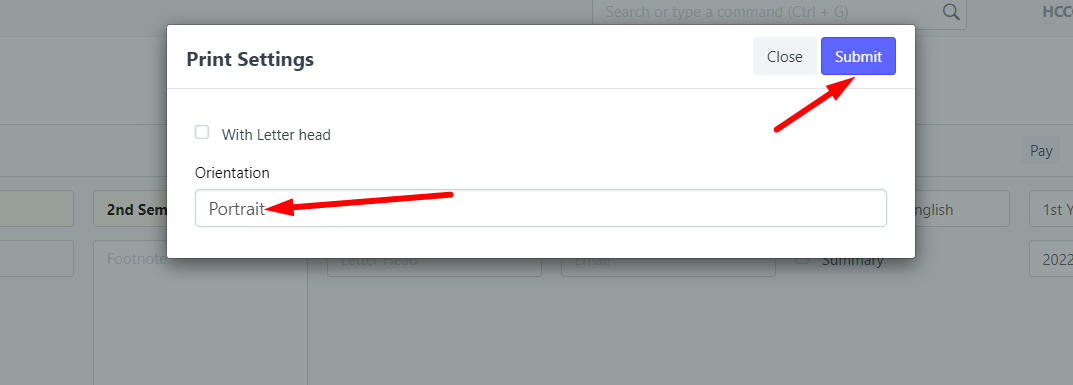
Print Format: