These are the steps to encode and submit grades without the use of Spreadsheets.
Step 1:
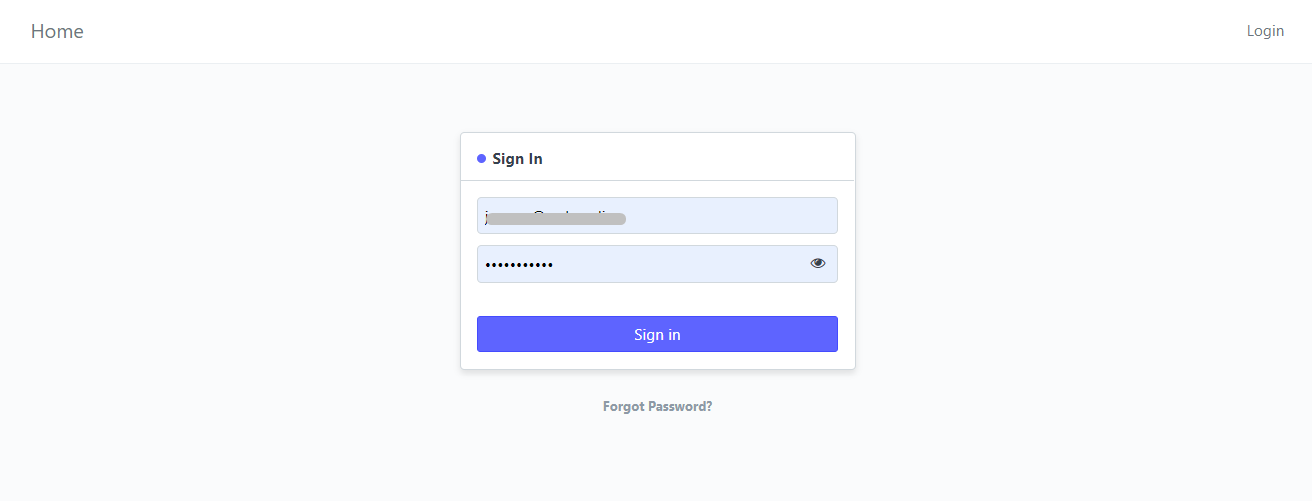
Login to your portal (Use accounts that can encode grades like Teacher, Registrar, Admins, etc.)
Step 2:
Click "Submit Grades" icon for BED and click "Submit Grades SHS" icon for encoding SHS grades.

Step 3:
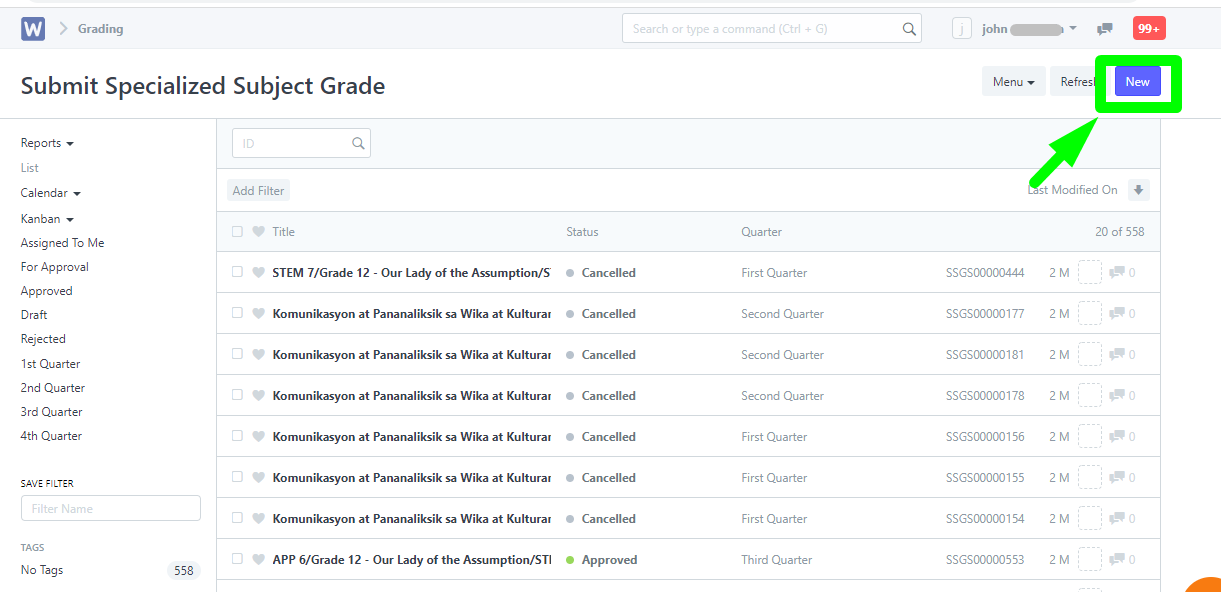
Let's say we will encode for SHS and clicked the "Submit Grade SHS" icon.
To start, click the New button.
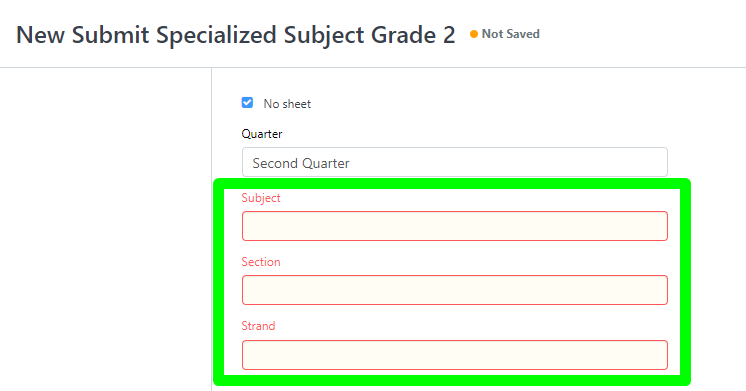
Step 4:
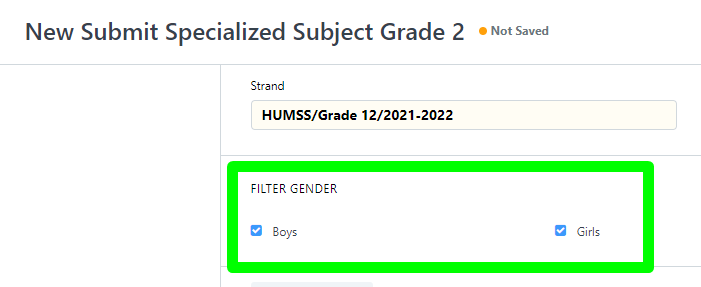
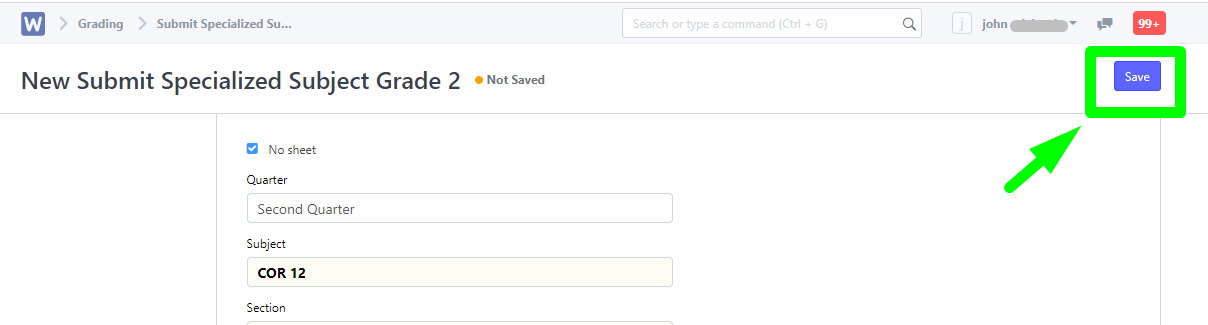
Tick the No Sheet checkbox.

Step 5:
Enter the required fields below,
Filter the student's gender,
Set the preferred School year,
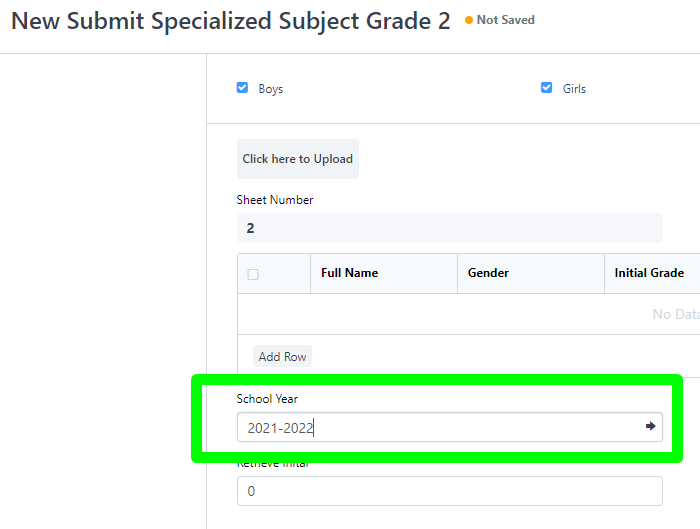
and click Save.
Step 6:
Once Step 5 is properly followed, the names of the student will reflect on the Student Table.
Note: the students are listed alphabetically and listed by gender order (male to female) as well.
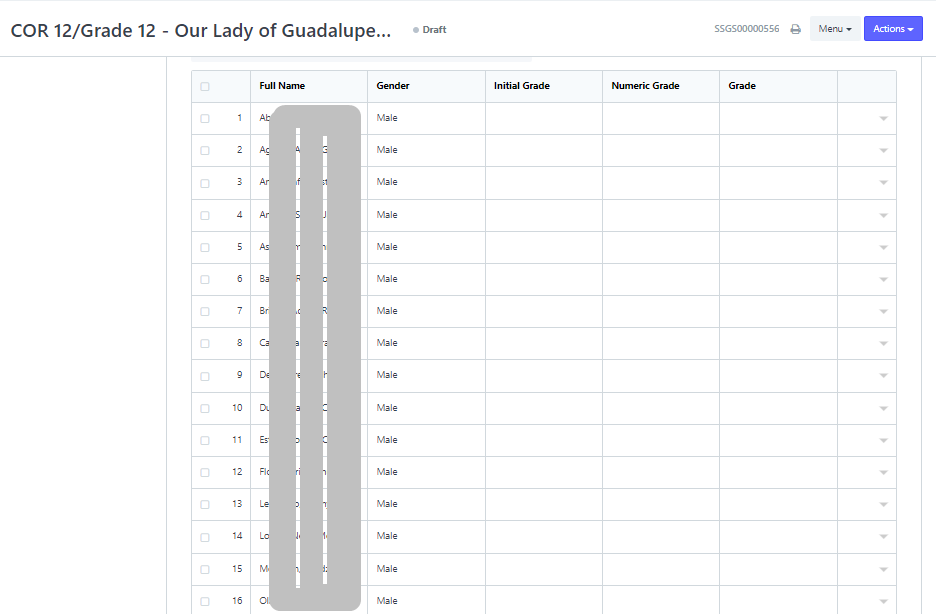
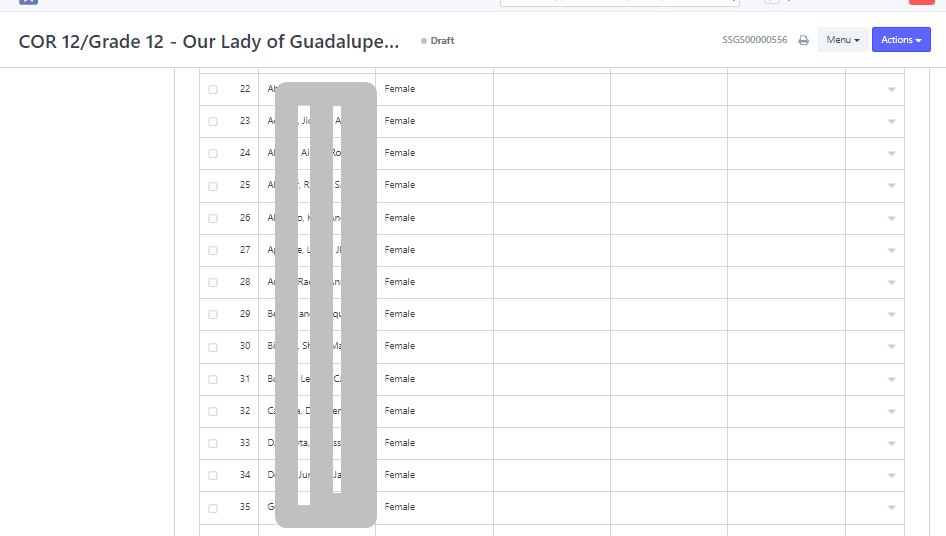
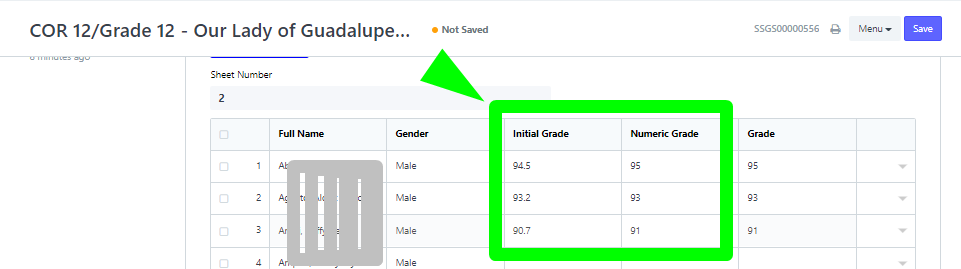
Proceed to encode the grades on the rows and column beside the student's gender and click the Save button after encoding.

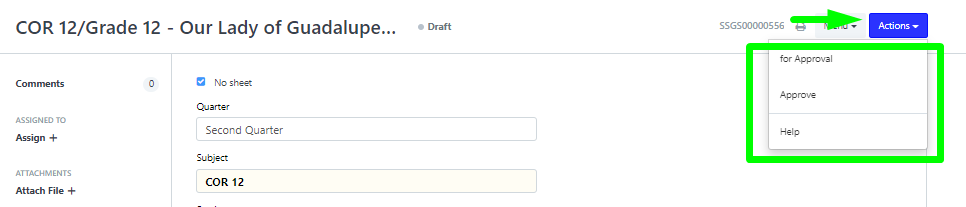
Step 7:
Final step is to open Actions menu and set the encoded grades either for approval or approve.
Note: access varies from each user role i.e., Teacher set for Approval only, Registrar set to Approve only, Admins both either of the options.