This document will be your guide to synchronize students for College to SilidLMS
Follow these steps below to sync College students to SilidLMS
Step 1
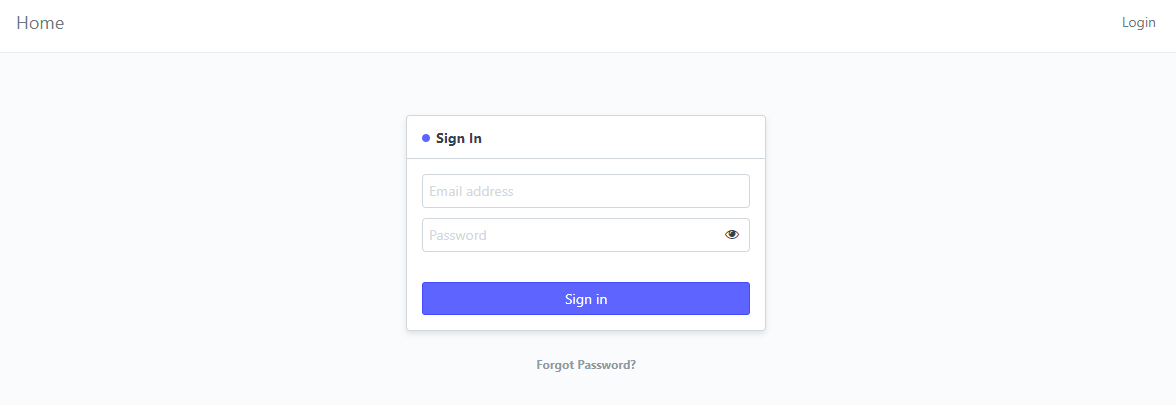
Login to your portal.
Use the accounts that can edit School WC Setup.
Step 2
Once you are successfully logged in, you will be redirected to your portal's desk.
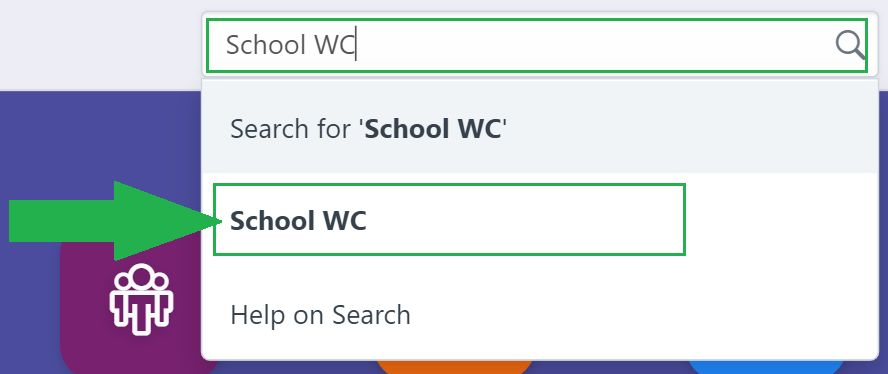
Search "School WC" on the search area at the upper right corner of the desk.

Step 3
You will be redirected to the School WC setup page.
Scroll down and click Show more details to display more options.


Step 4
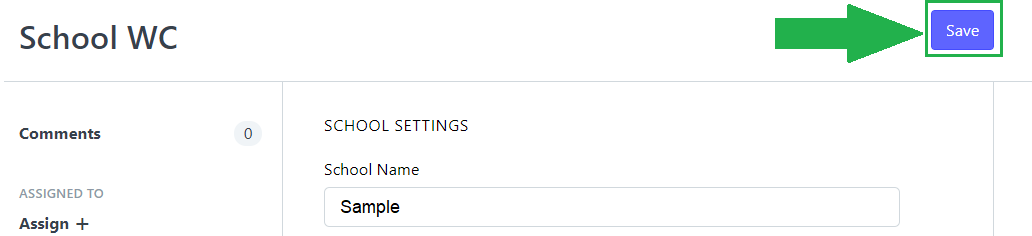
After clicking Show more details, scroll down and find the Payment Code and enter the shortened name of the school with no spaces.
Click save after assigning the payment code.

To proceed with the next steps, make sure that College students already have their Enrollment Ledgers created and submitted.
Step 5
Create instructors for the class.
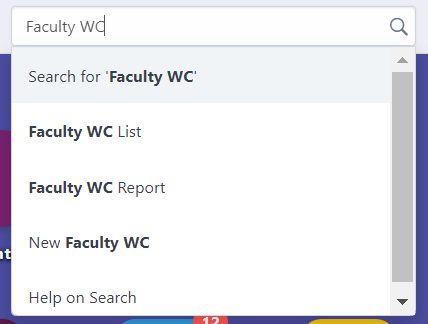
Go to Faculty WC by searching "Faculty WC".
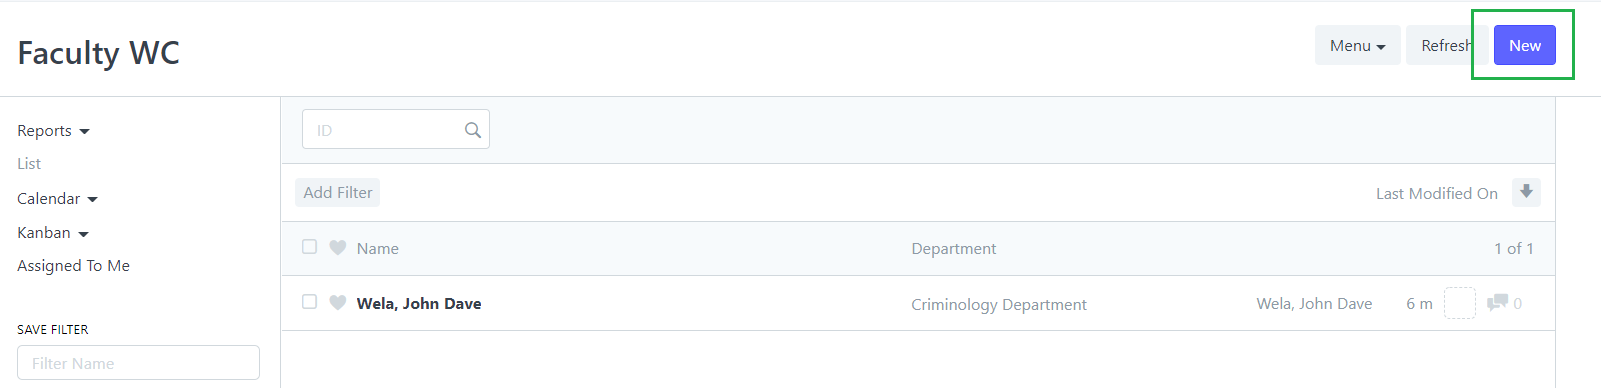
Click New to create a add another instructor.
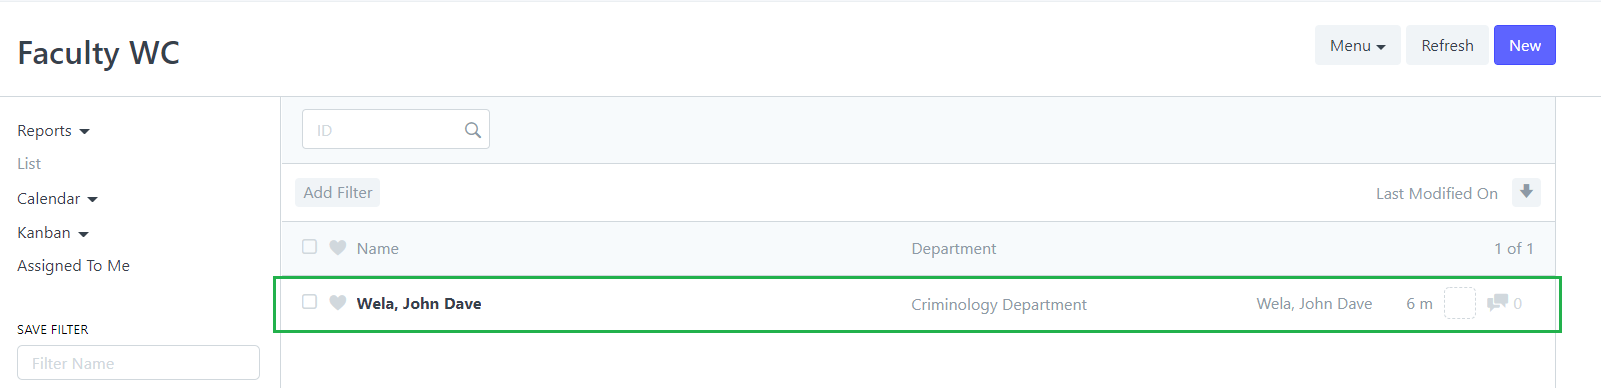
Click on an instructor to check if their details are correct.
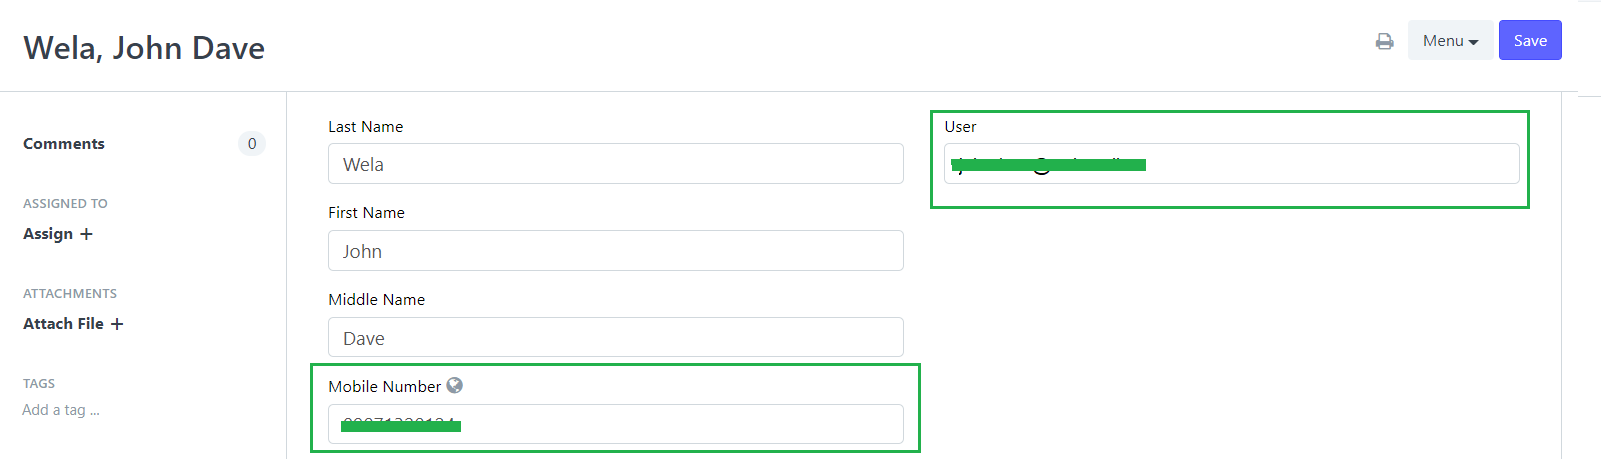
Make sure that their User and Mobile Numbers are assigned.
Click Save once done.

Step 6
Create a class for each subjects.
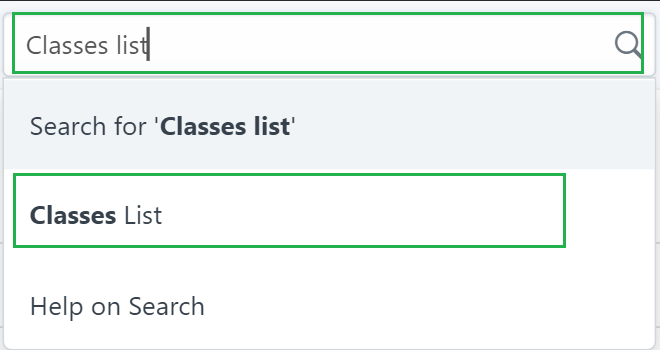
Go to "Classes List" search by searching on the search-bar.
Step 7
The Classes List will display all the subjects you assigned on a section/block.
To assign a subject to a block, click the link below.
Create a Section/Block
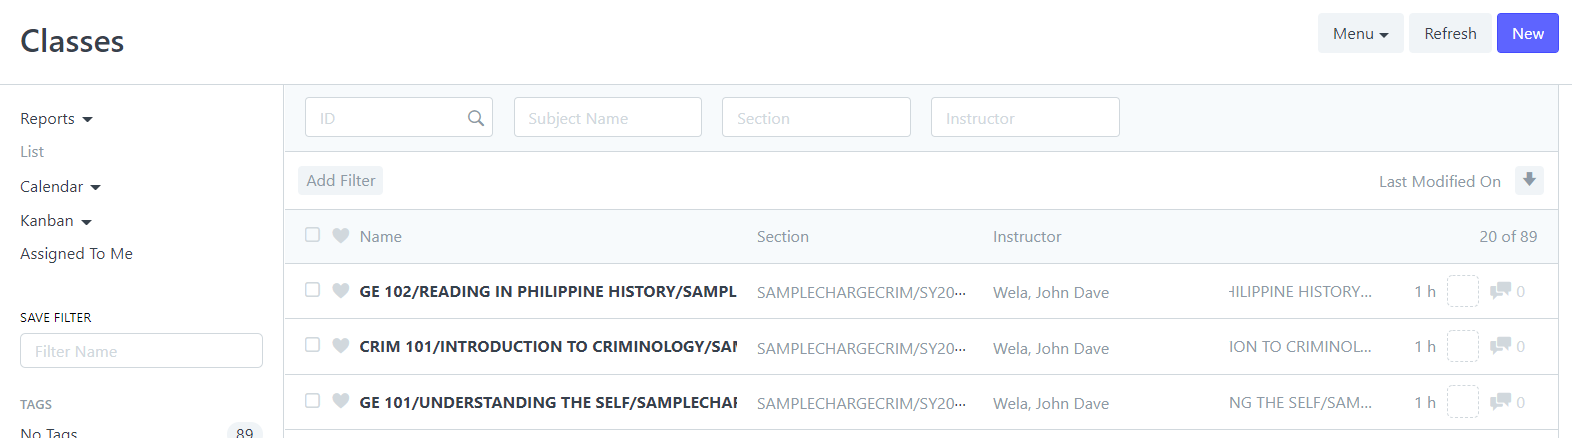
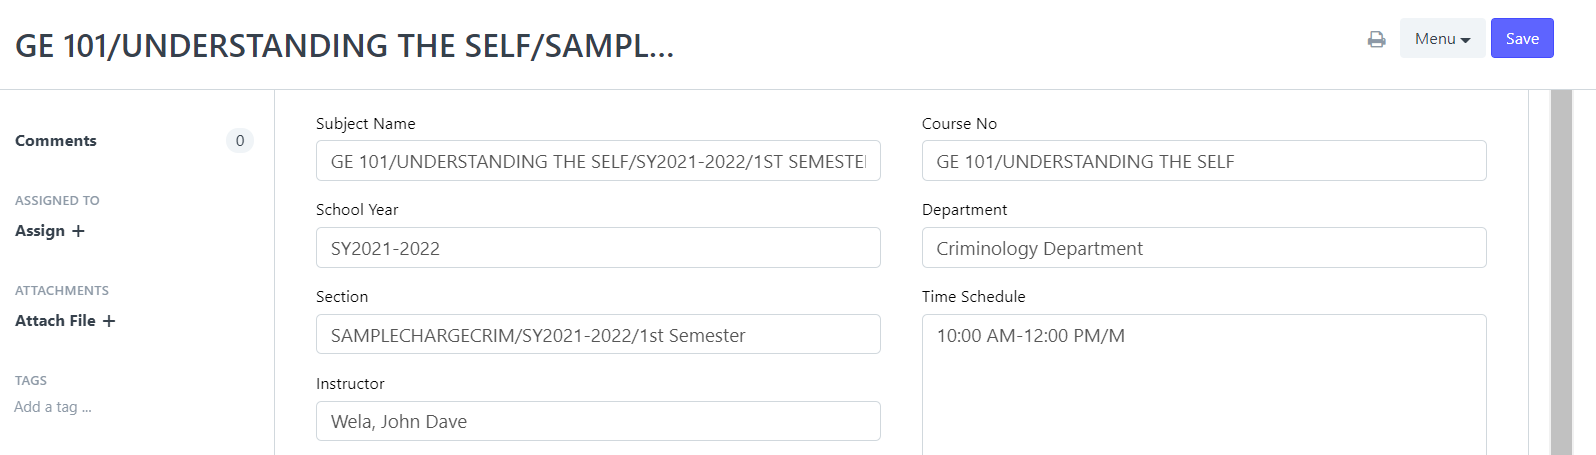
Open a subject to check if the details are correct.
Make sure that their is a section, schedule and Instructor assigned.
Step 8
You can send the accounts once done with the previous steps.
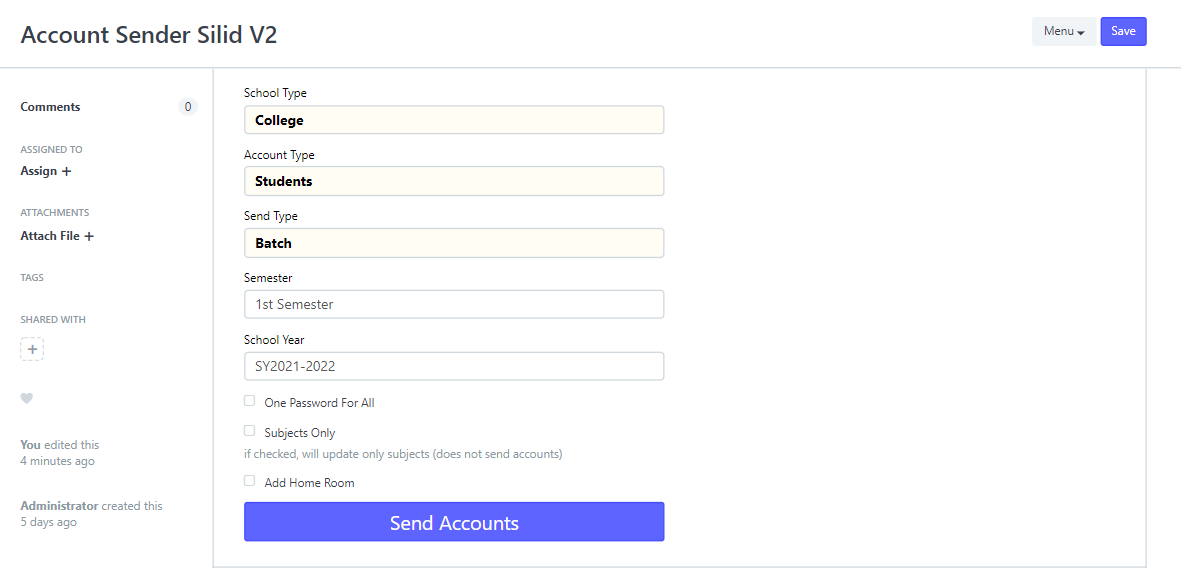
Go to "Account Sender Silid v2" using the search bar at the upper right corner.

Step 9
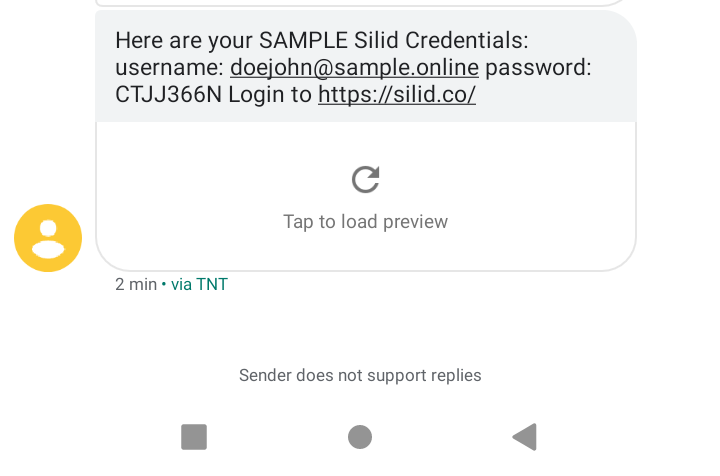
Click "Send Accounts" to send College students their SilidLMS accounts.
The students will then receive their accounts like this attached message here.
The word SAMPLE on the message is the one you've set on Payment code.