With the new update, students for K12 / SHS can now receive and request for their account and login to the WELA portal for WELA V2.
These steps below will be the guide on enabling K12/SHS students to have their own portal accounts.
Step 1
Login to the portal using the accounts that can edit School settings, i.e. Administrators, Support, IT, etc.

Step 2.
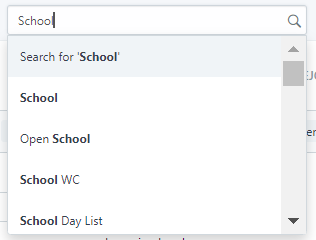
After logging in, search "School" on the search bar at the upper right corner of the portal's desk.
Step 3
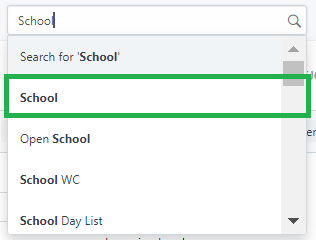
Click on the result School.
Step 4
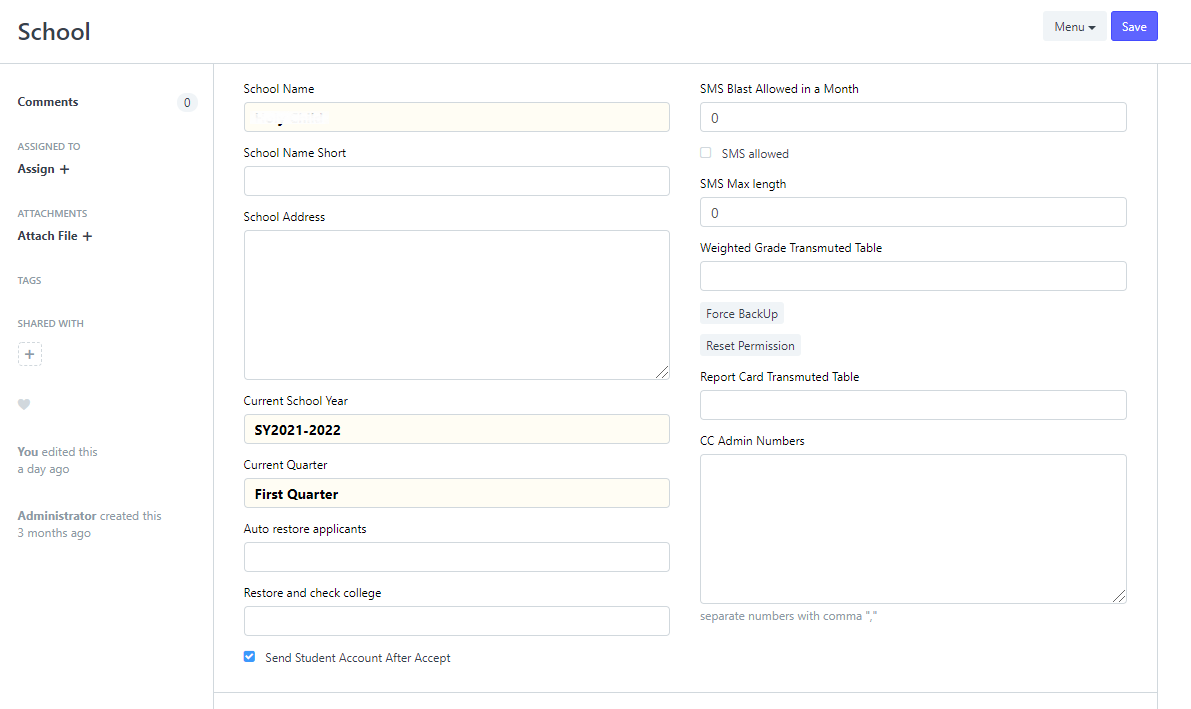
The School page will be displayed once the result is clicked.
Step 5
Locate the option/checkbox Send Student Account After Accept and make sure that the option is checked and if not, click the checkbox to mark it checked.

Step 6
Once the checkbox is ticked, click the Save button at the upper right corner to save the changes.


You can now proceed to set the K12 student's accounts on this link below.
K12 / SHS Portal Accounts