In WELA v2, Journal Entry will be used to manage accounting entries such as outstanding balances, assets, receivables, liabilities and expenses.
Journal Entry can be used both for Basic Education and College students.
Follow these steps below to disseminate /allocate properly the outstanding balance of accounts.
Login to the portal.
Once logged in, you will be redirected to the portal's desk, click on the search bar at the upper right corner and type in "Journal Entry List".
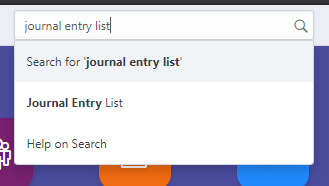
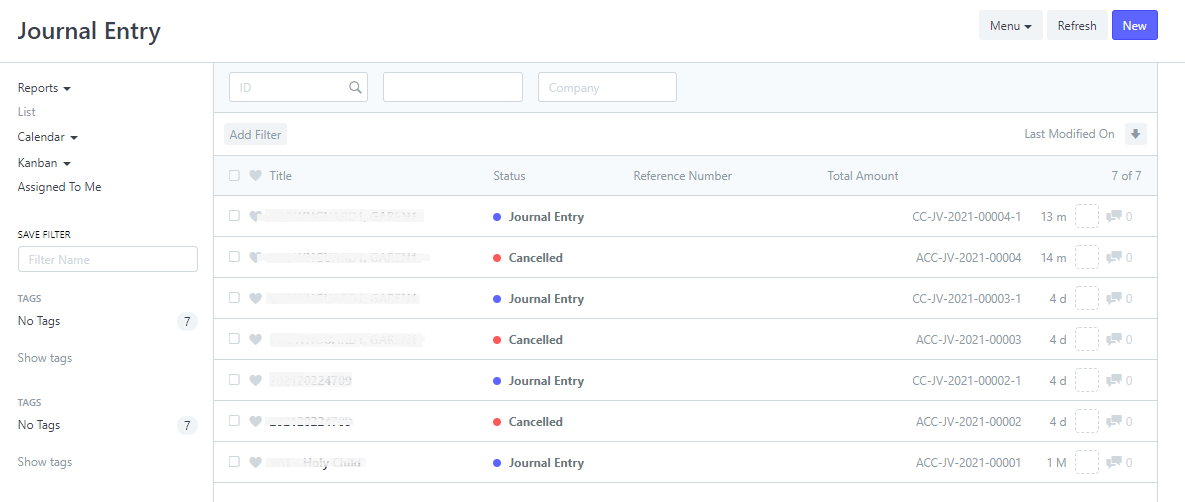
Click on the result and you will be redirected to the Journal Entry page.
Before creating a new journal entry, clarify first the purpose of the entry, if either the entry will be used to add lacking / outstanding balance or apply entry for excess payment.
For outstanding balances, follow these steps.
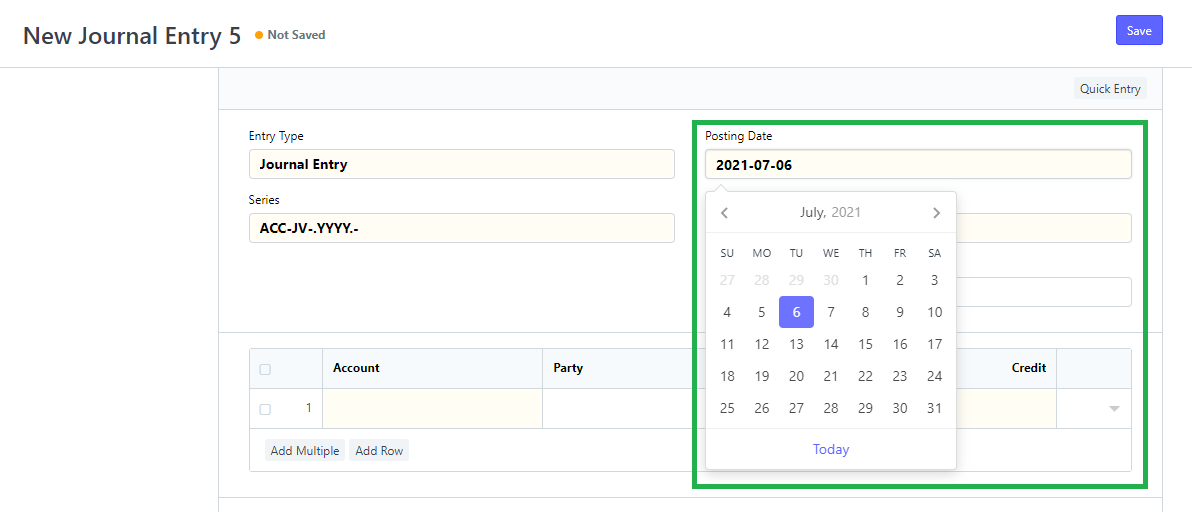
Step 1: Click New. A New Journal Entry form will be provided.

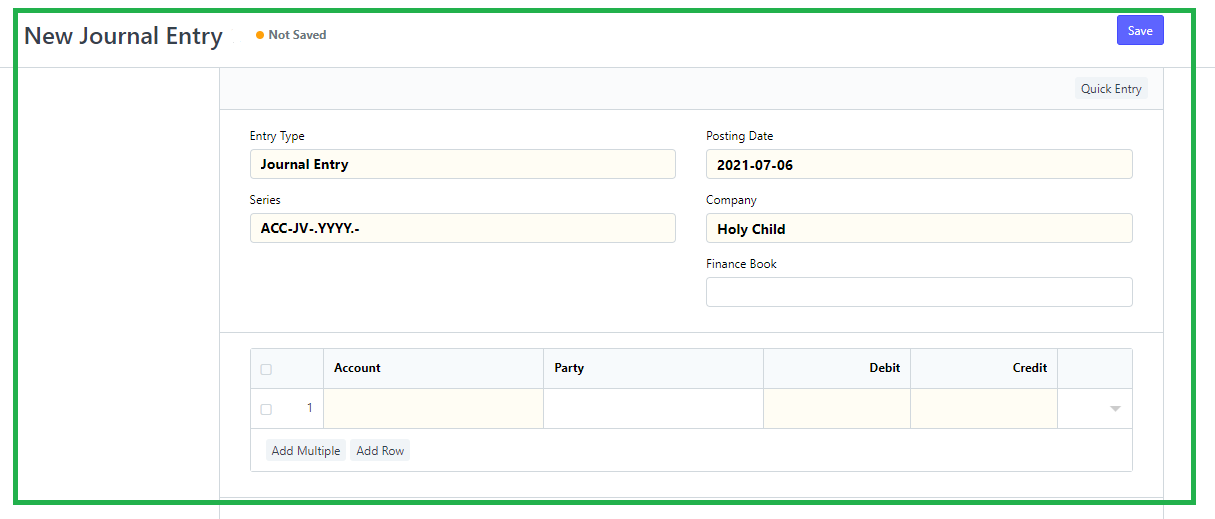
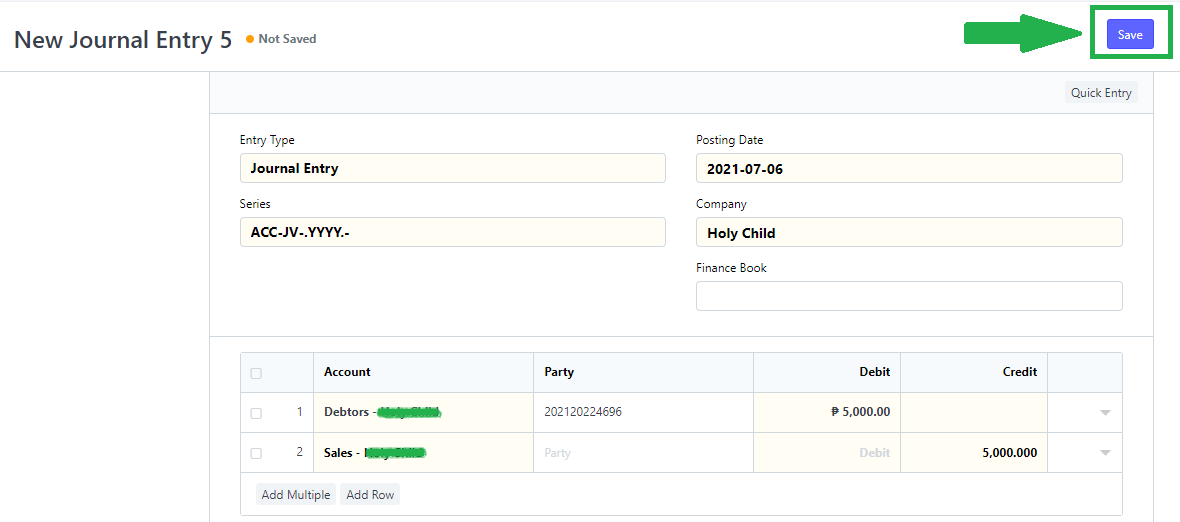
Step 2: Enter the Posting Date. One thing to remember when filling out the posting date is that it must be a previous date or a date not on the day or the day after the Enrollee Customer or Enrollment Ledger is created.
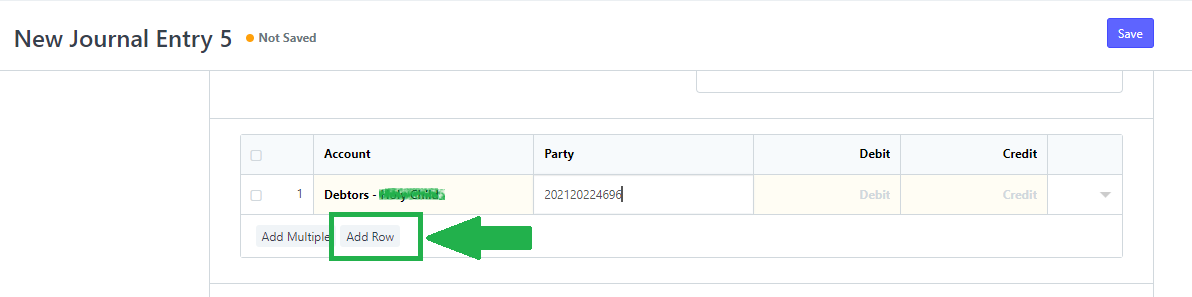
Step3: On the table below, enter the name of the account and the party (student) where the entry will apply the outstanding balance.
For the Account, select Debtors - School Name.
For the Party, enter the name or ID of the student with outstanding balance.

Click add row to add more students with outstanding balances.
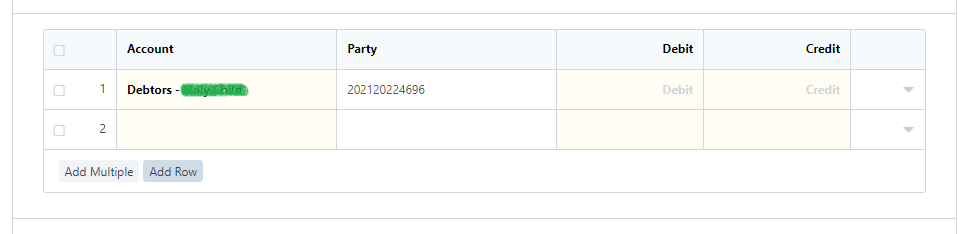
Step 4: If there are no more other account with balances, click add row to have another row for entering the receivables or what will the school receive.
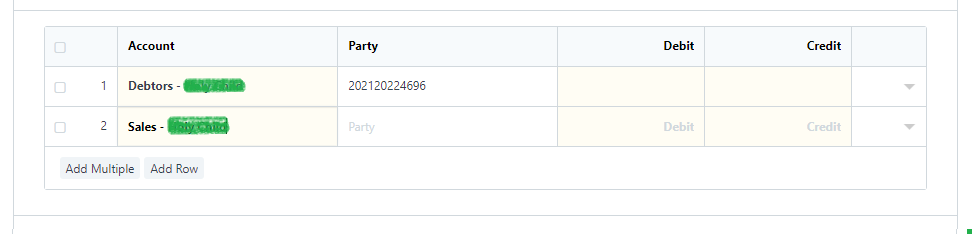
Step 5: On the new row, enter the name of the account where the receivables will go.
For the Account regarding with receivables, enter Sales - School Name.
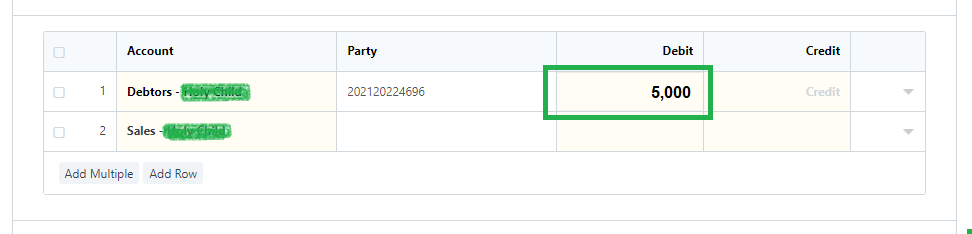
Step 6: Proceed now to enter the balance on the rows under the Debit and Credit columns.
The outstanding balance must be filled out on the row for Debtors under the Debit column.
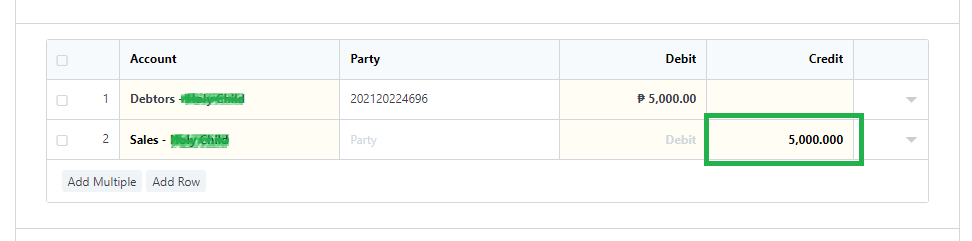
The receivables must be filled out on the row for Sales under Credit column.
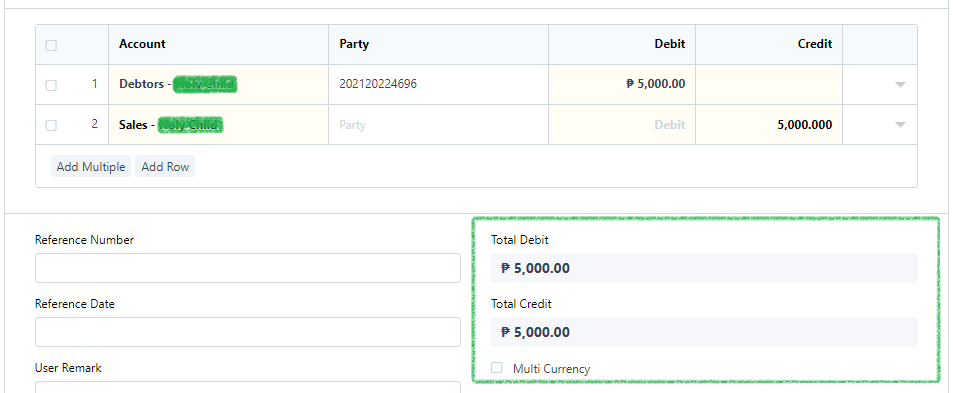
Step 7: Make sure that the amounts entered on the debit and credit is always equal.
You can also compare it on the Total Debit and Total Credit section.
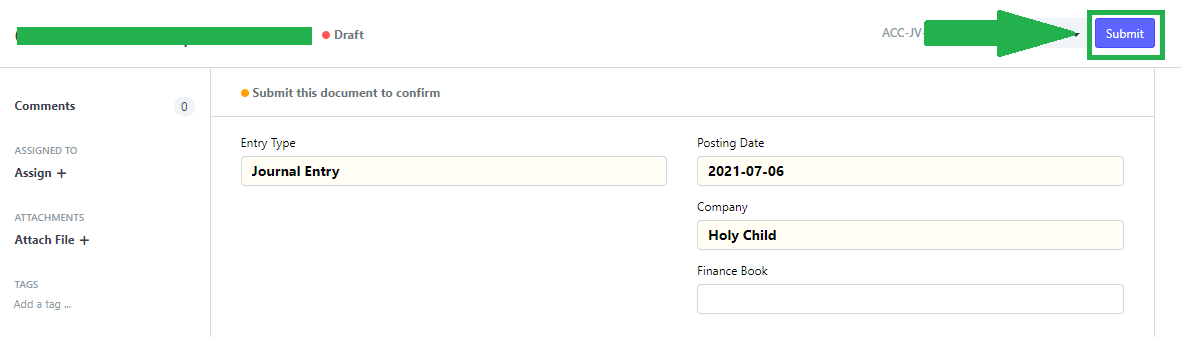
Step 8: After setting the accounts and amounts correctly, proceed to save the Journal Entry by clicking Save and Submit.
If you applied the outstanding balance for Basic Education, you can check on the Enrollee Customer for the changes.
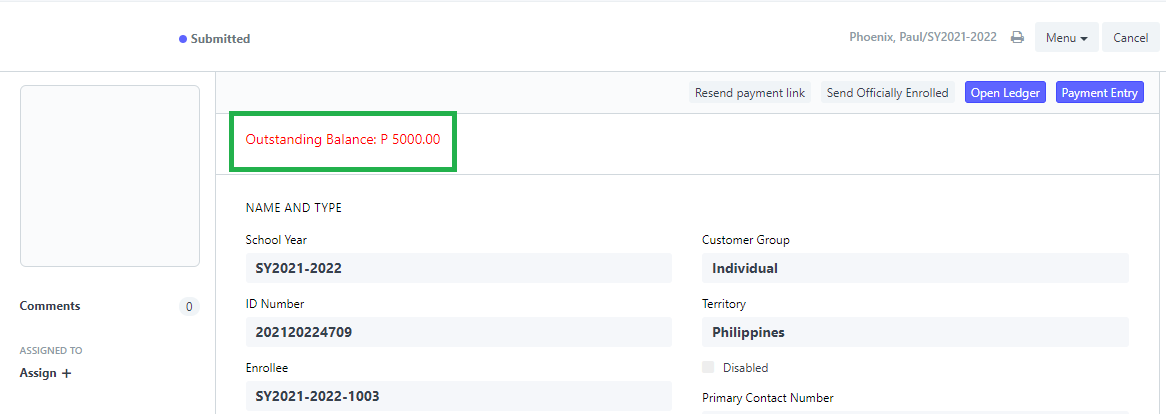
Check on the Enrollment Ledger if the entry is for College.
