
Enrollment Ledger and Sectioning WC Update
WELA College v2 had an update with the Enrollment Ledger and Sectioning WC pertaining to the picking of subjects.
The update helps determine if a subject or a block is open and available for picking.
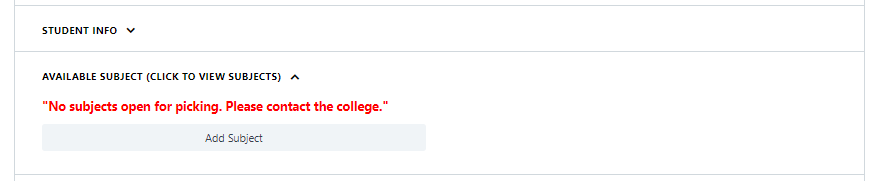
On the Enrollment Ledger, the AVAILABLE SUBJECT portion under the STUDENT INFO will display a message if a subject or a section is not open for picking or a regular section is not allowed to be picked.
This documentation will show you the steps to open subjects or a section solely for picking.
Steps on how to open a subject or section for picking.
Step 1.
Login to your portal [with College Registrar or Dean access level].
Step 2.
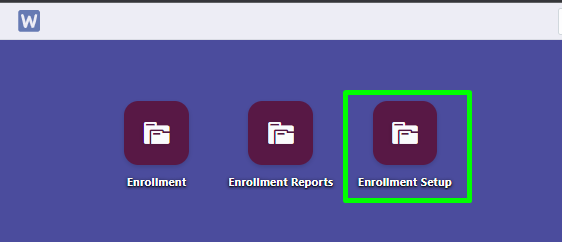
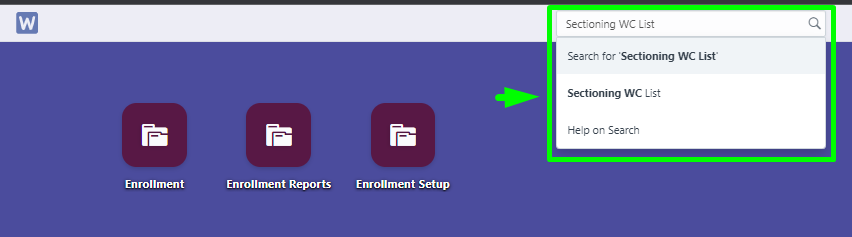
Once you are successfully logged in, click the Enrollment Setup icon and click Create Schedule or search in the search bar the "Sectioning WC".
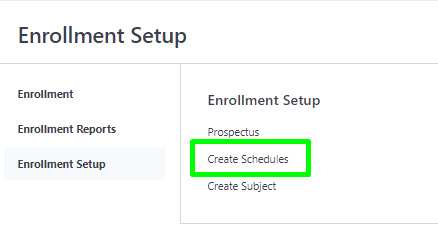
Step 3.
After following the step above, you will be redirected to Sectioning WC.
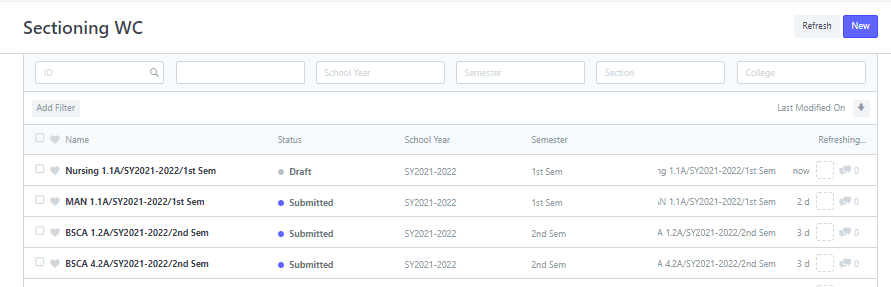
Click on an available section or block or the one that you created.

If you haven't created a section or block yet click - Create a section.
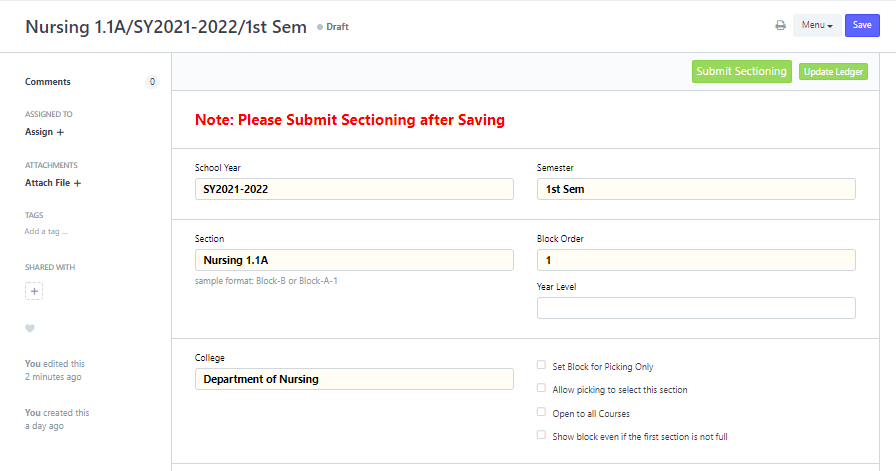
Step 4.
After opening or creating a section, navigate to the checkbox labeled as "Set Block for Picking Only".
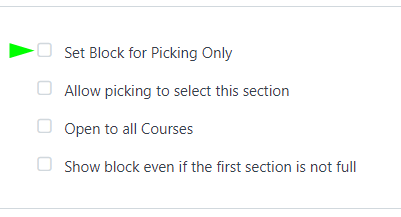
Step 5.
Tick the checkbox and hit Save and Submit Sectioning.

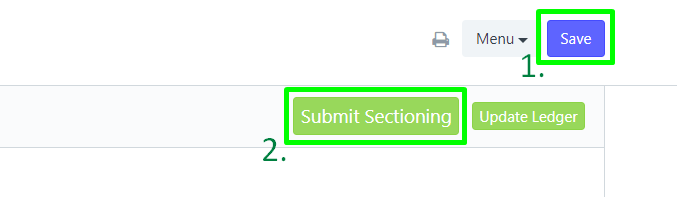

Step 6.
Make sure the Draft status will be changed to Submitted after clicking the Submit Sectioning


Now you are all set.
To check, open an existing Enrollment Ledger or create an Enrollment Ledger.
Navigate and click the AVAILABLE SUBJECT portion under the STUDENT INFO.

A table for all the list of subjects open for picking will be displayed after clicking AVAILABLE SUBJECT.
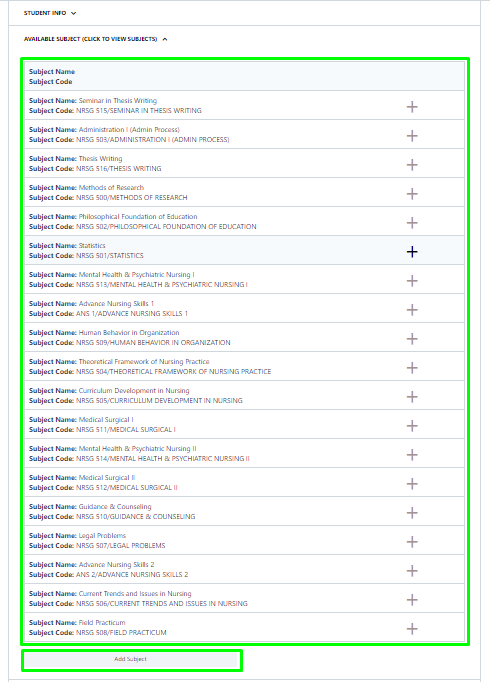
These subjects can be picked and be added to the students subject load.