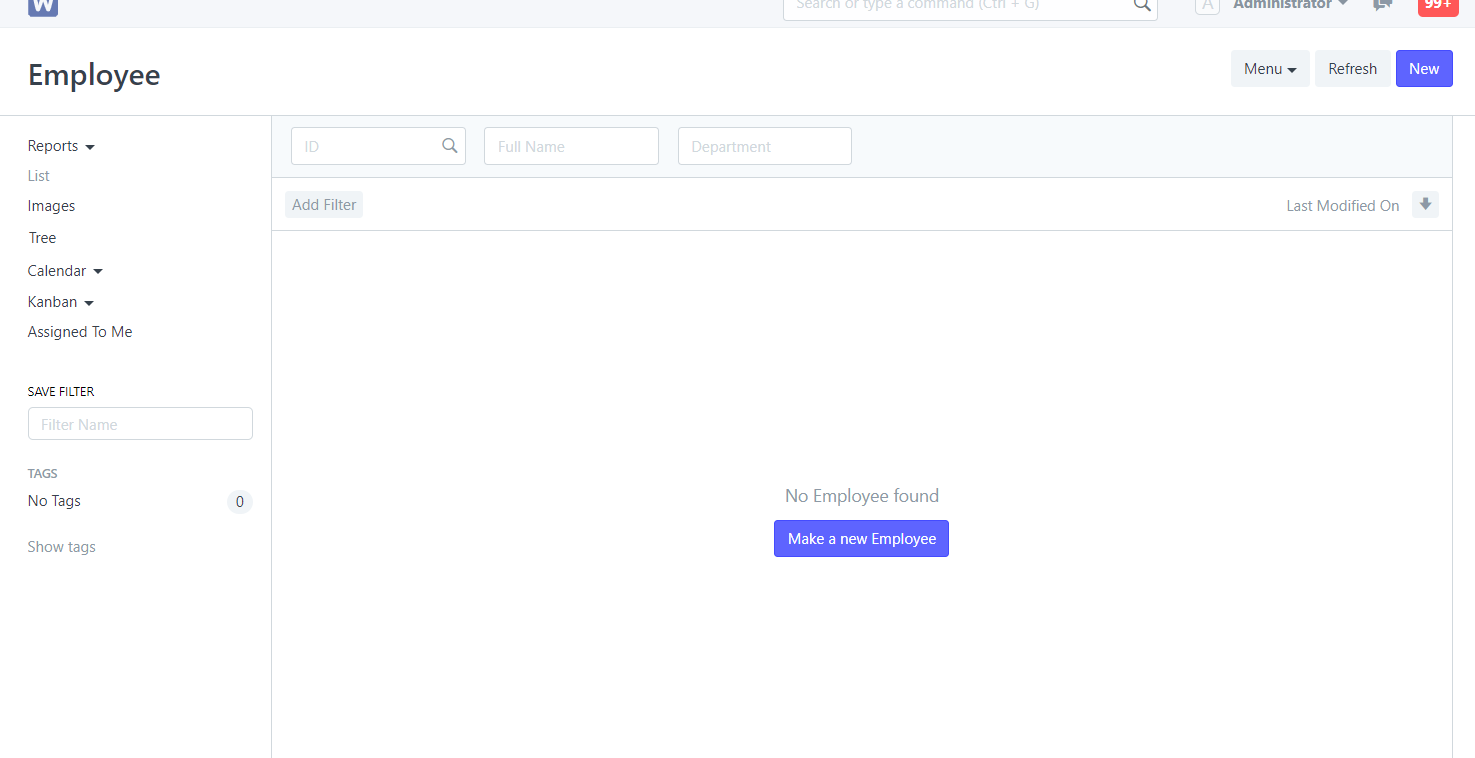
Step 1: Go to Employee list
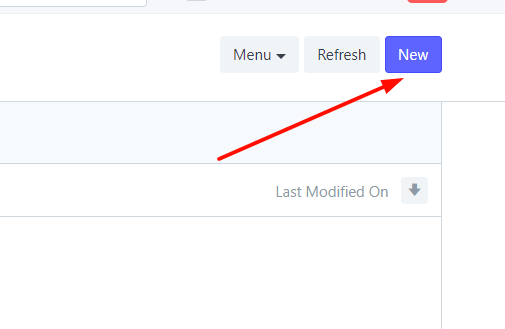
Step 2: Click New
Step 3: input the information of the cashier and click Edit in full page button

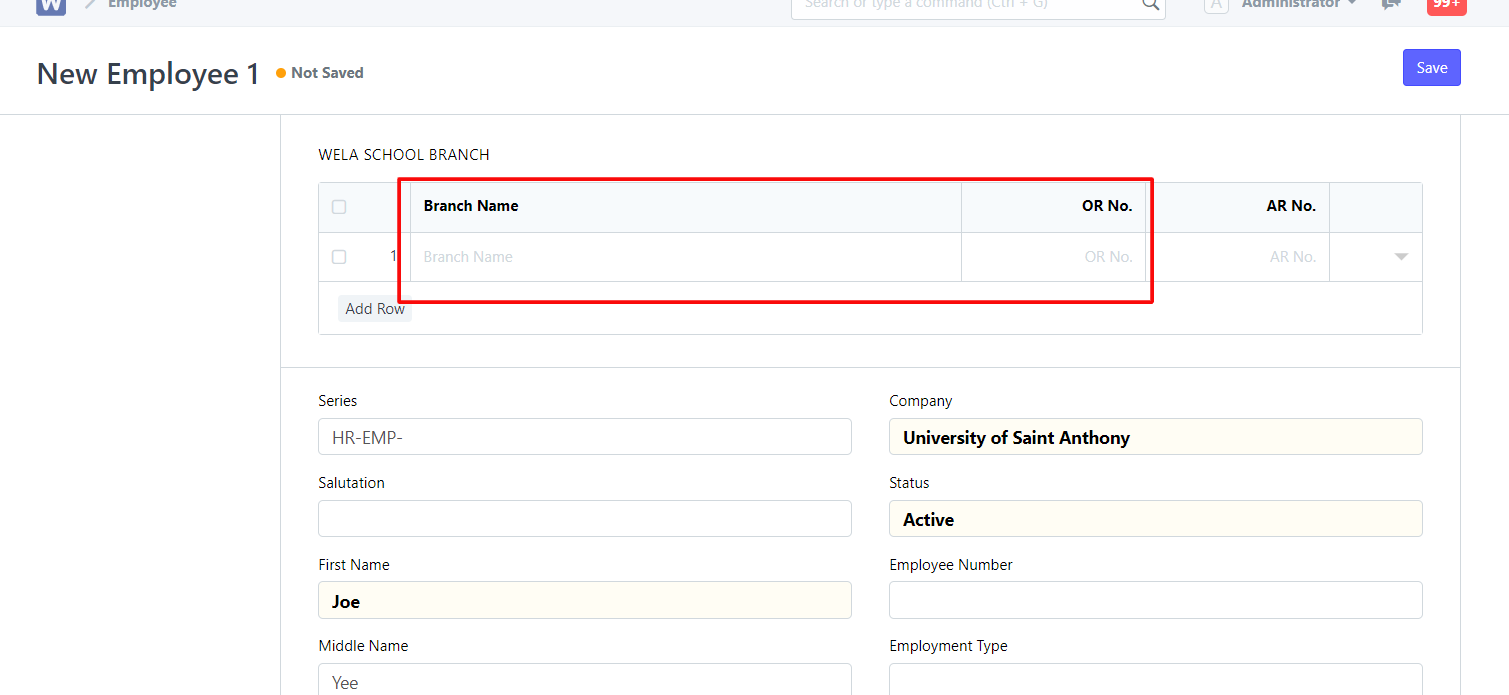
Step 4: Go to WELA SCHOOL BRANCH table. Add branch Name and OR no.
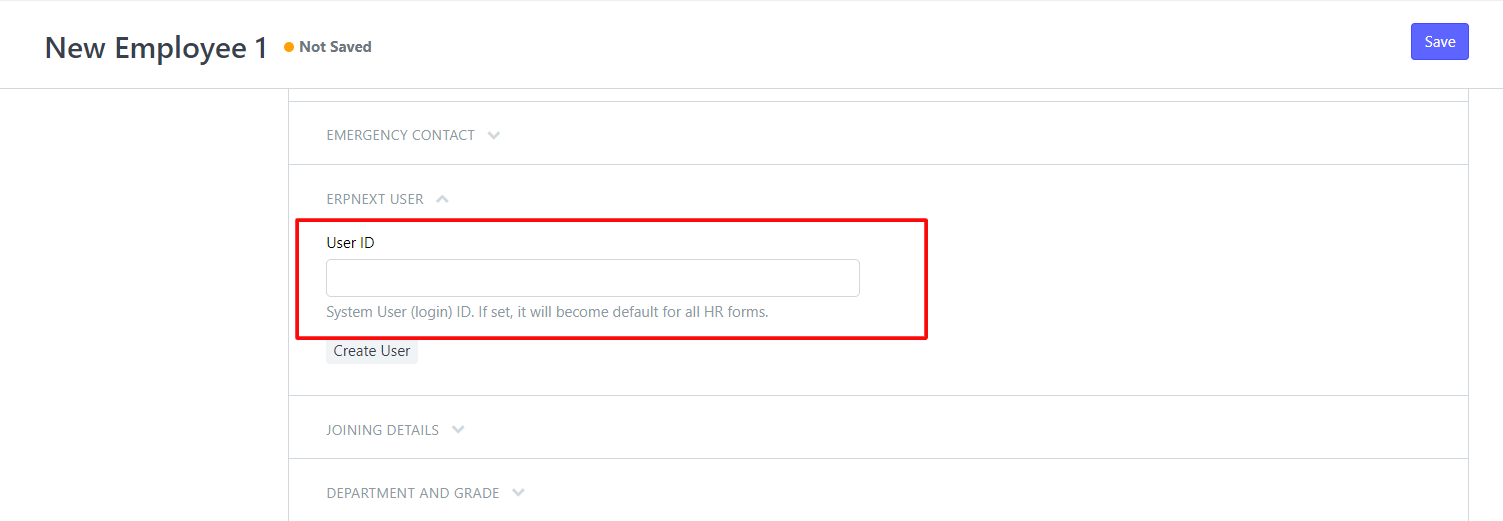
Step 5: Scroll down, go to Erpnext user section, add the email address of the cashier, then click Save
Note: Create a new Branch name for each cashier with a different OR batch.